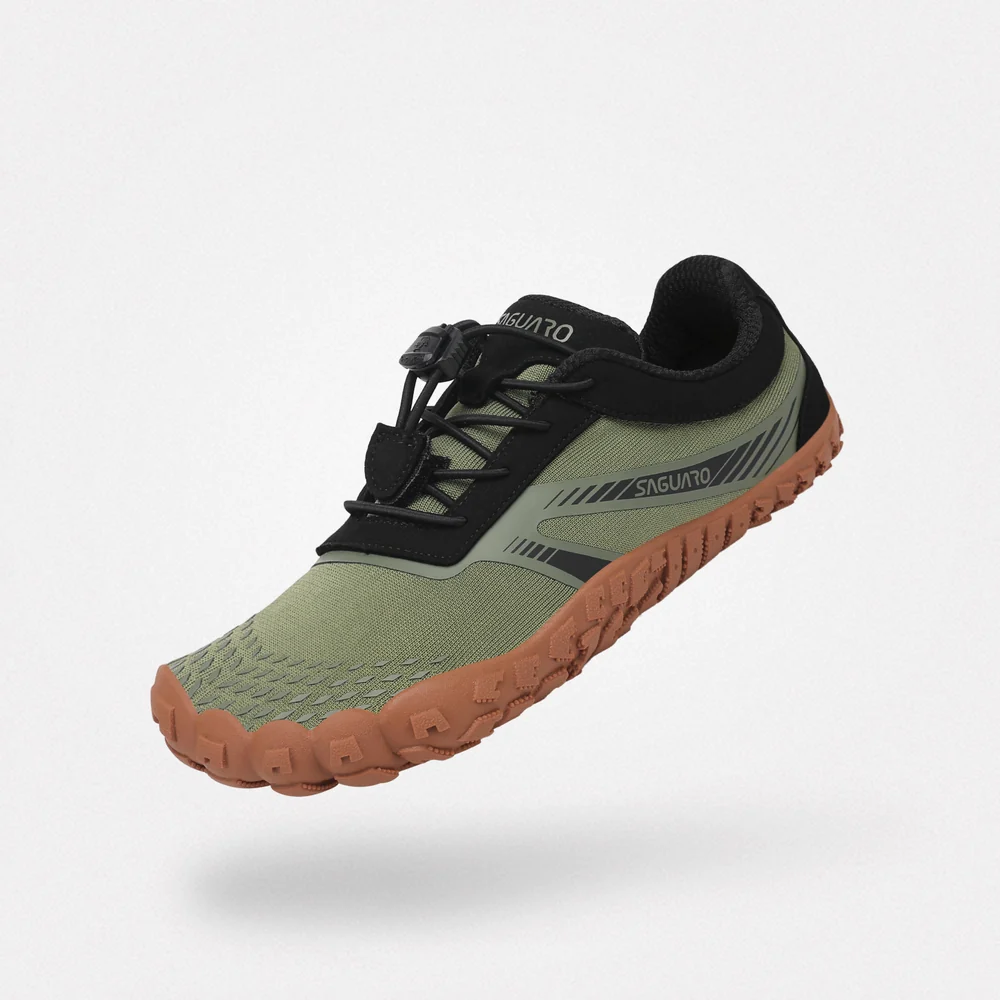
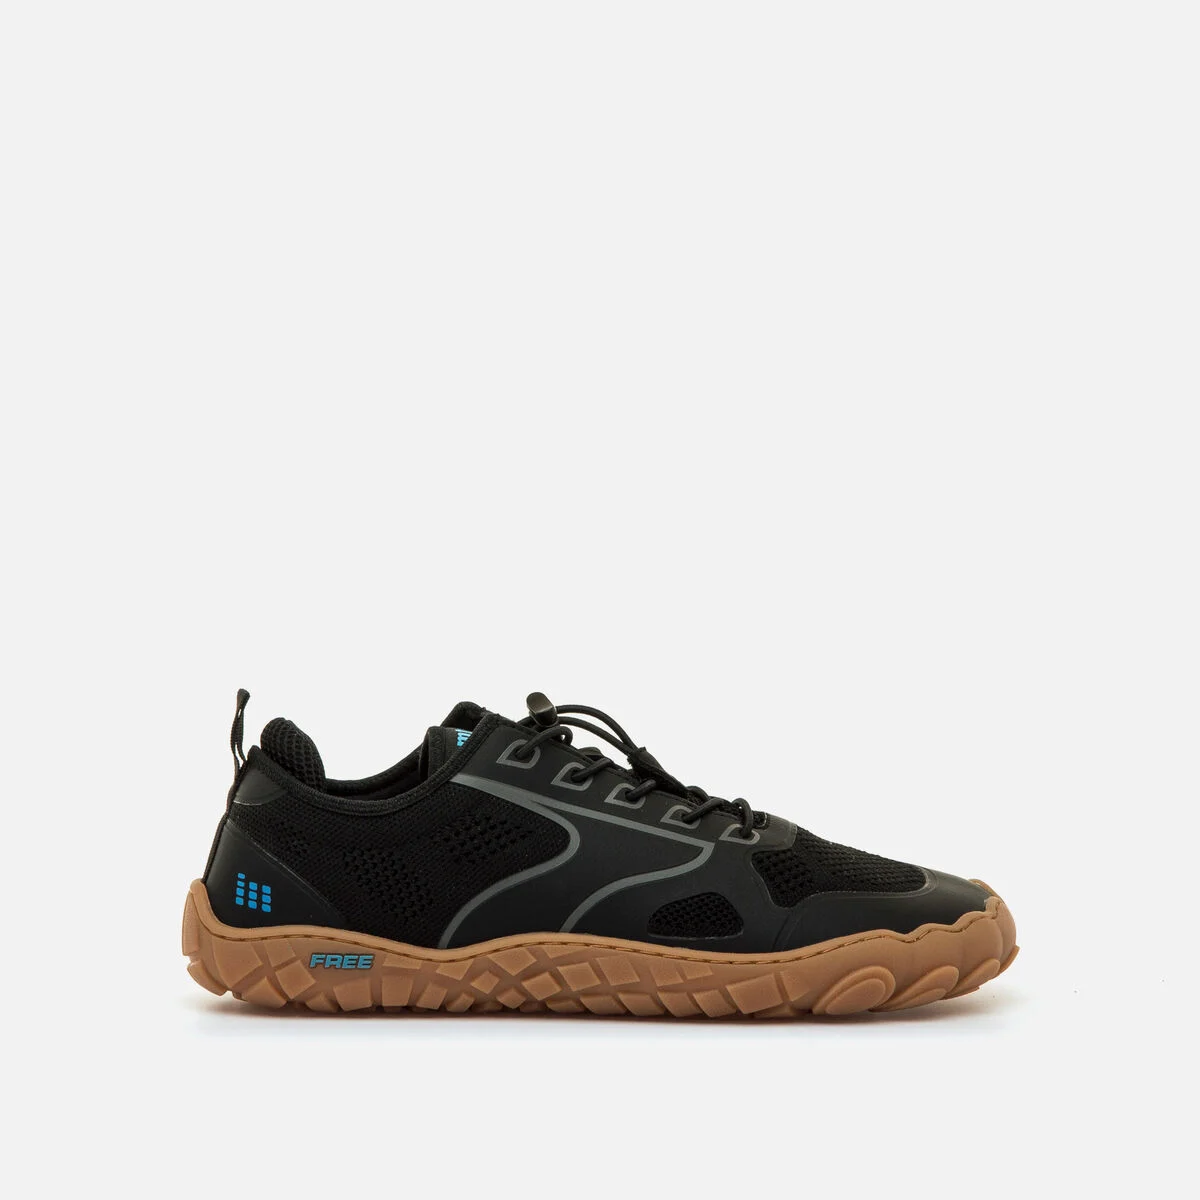
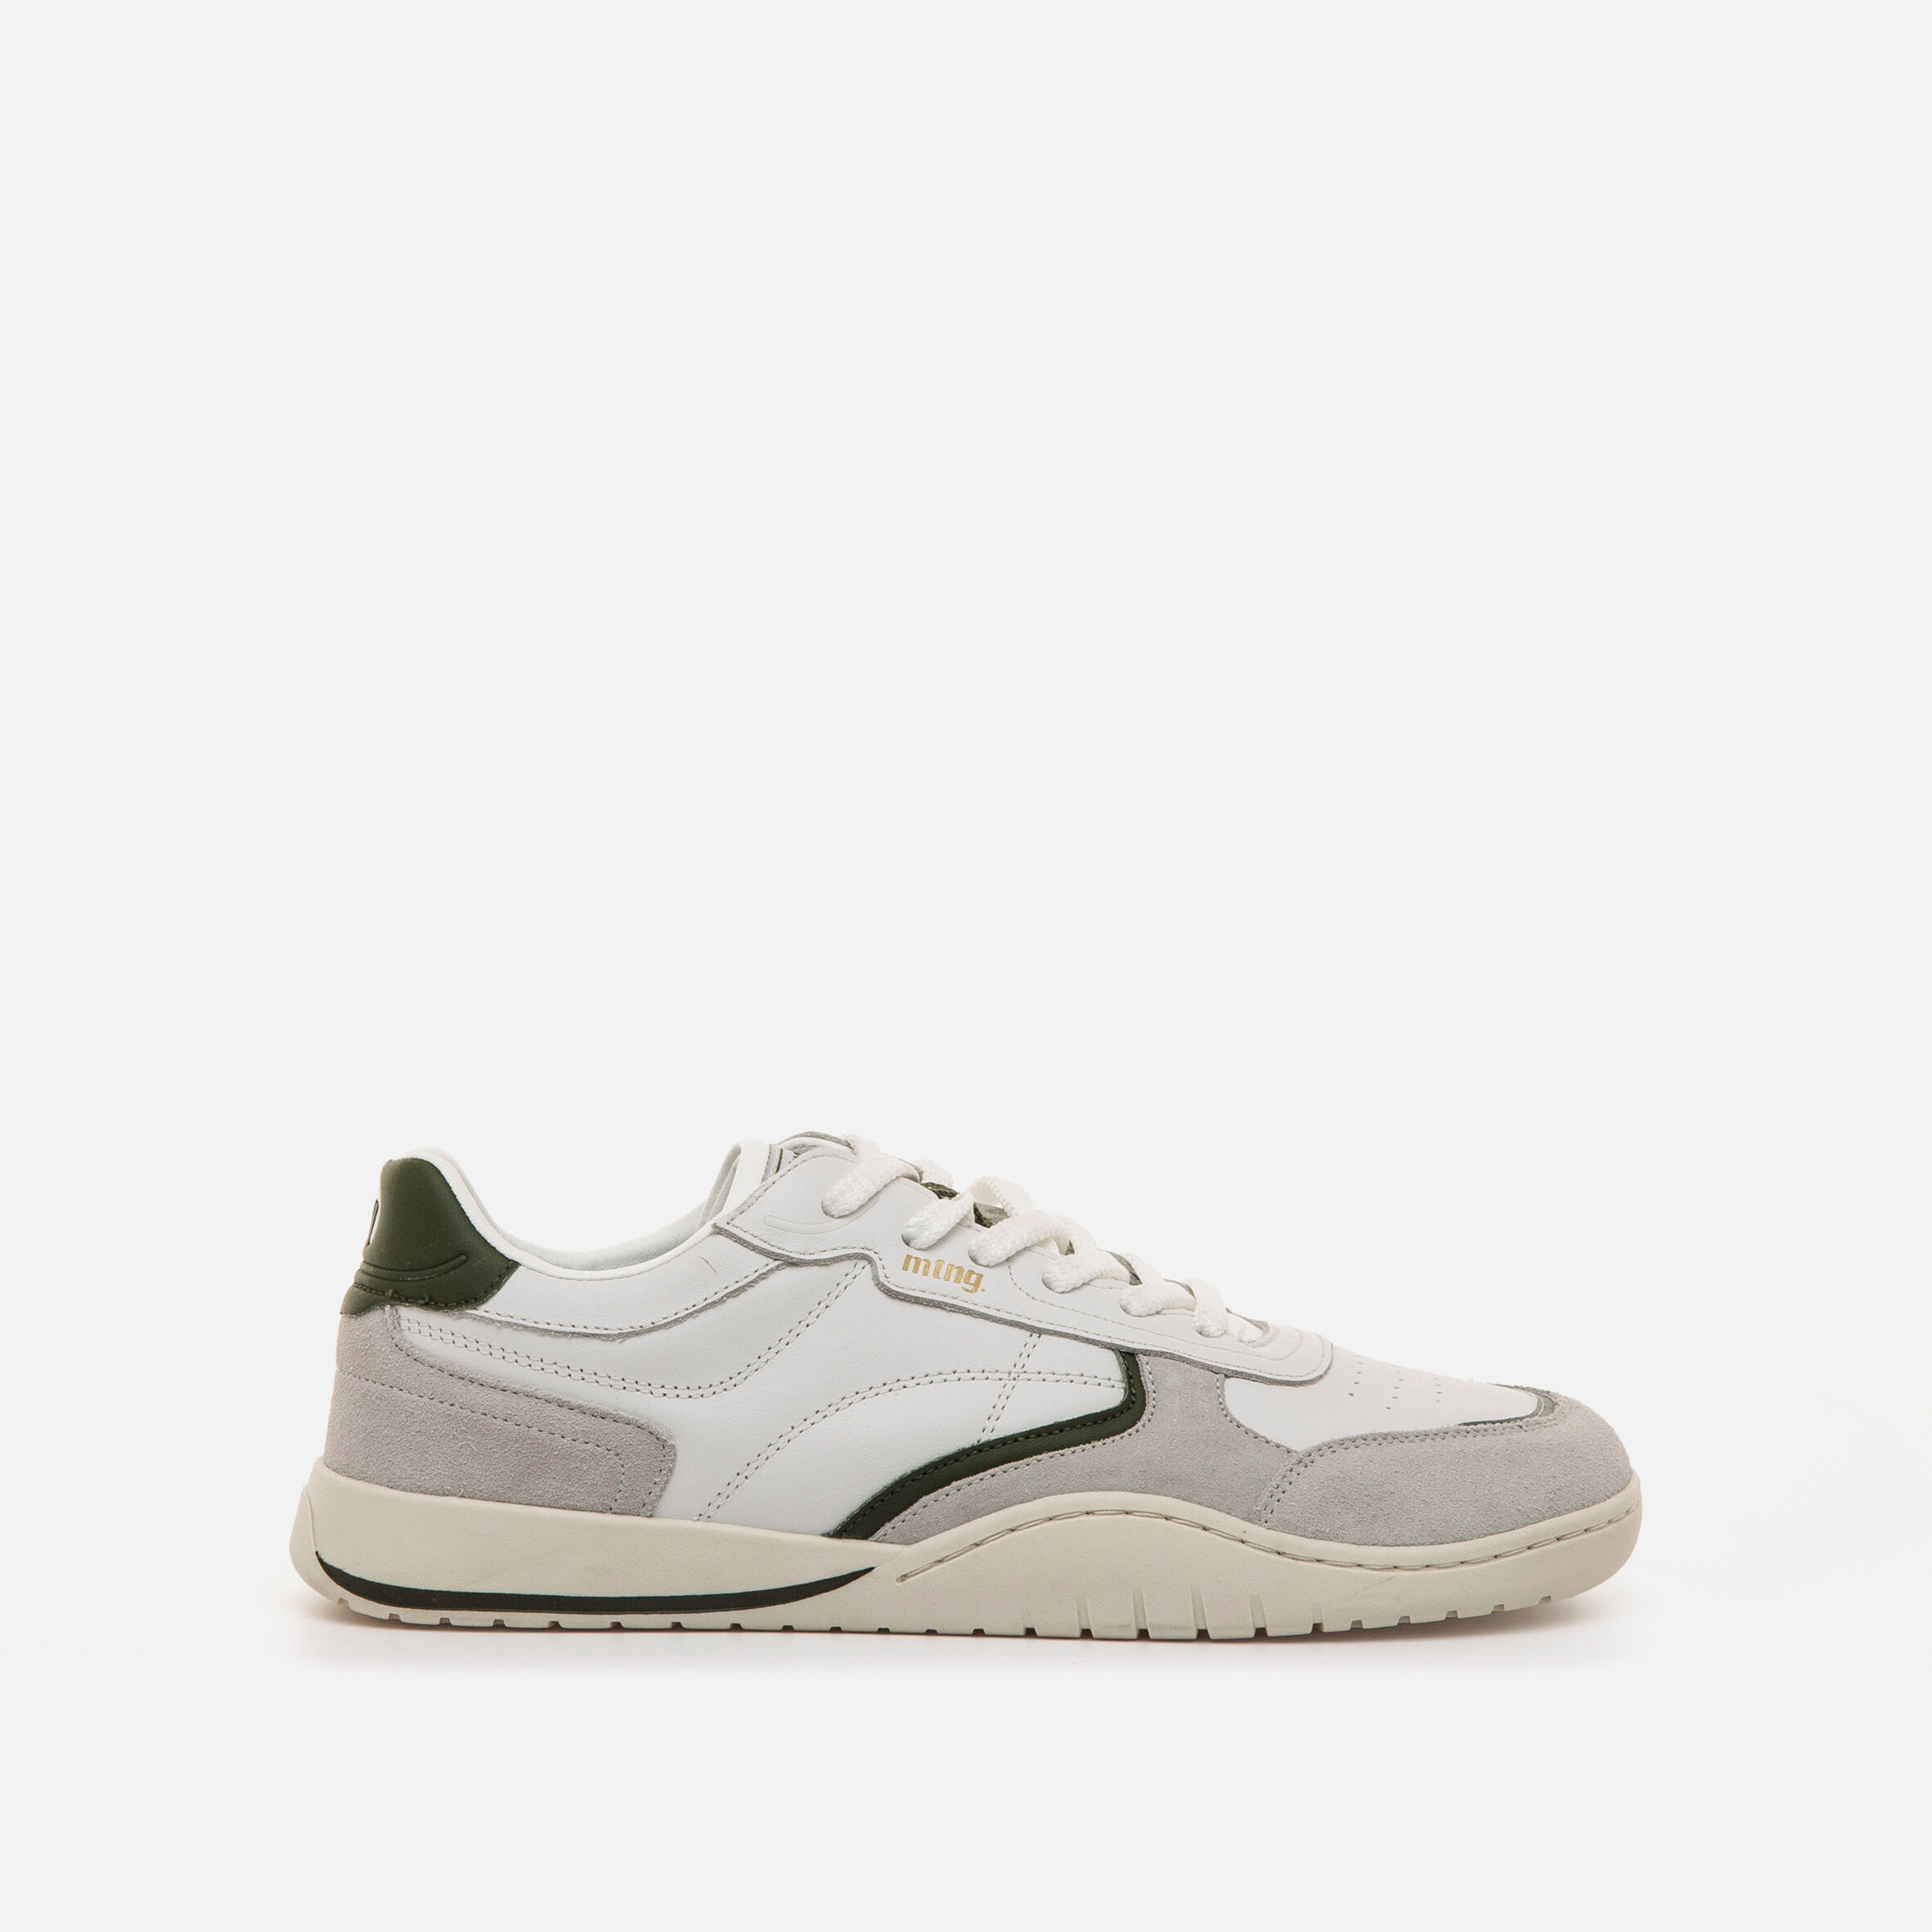

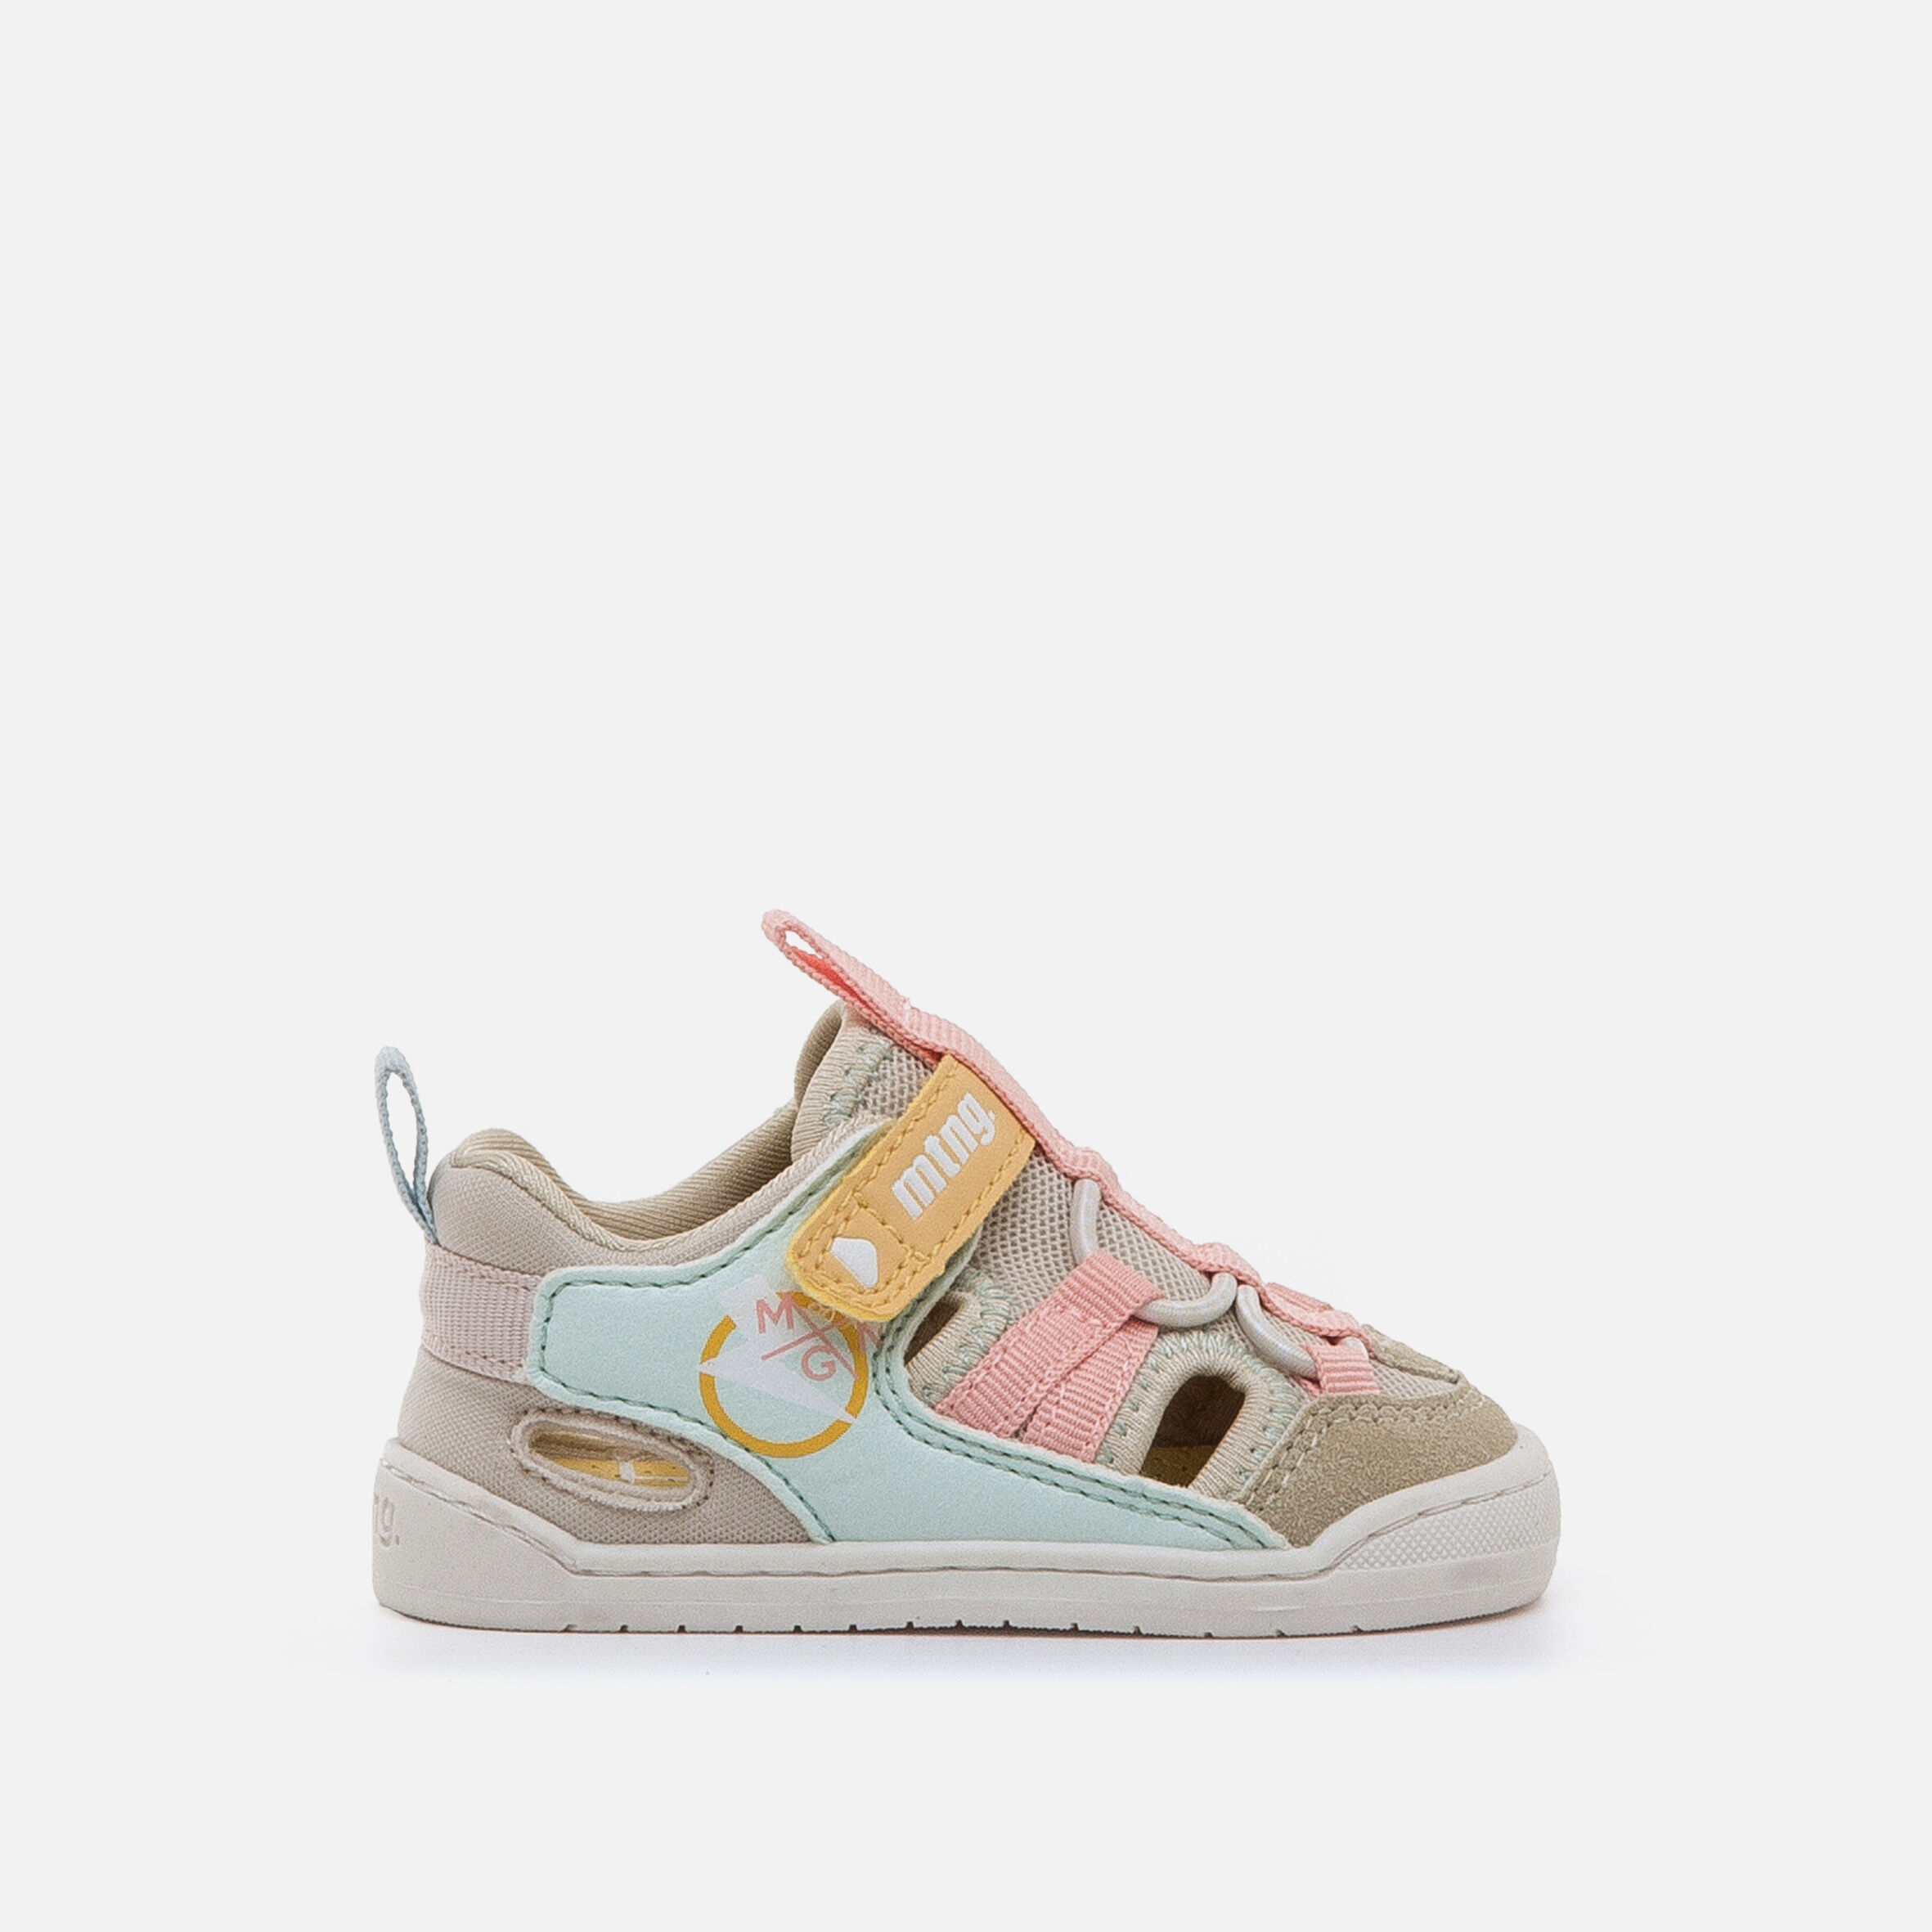







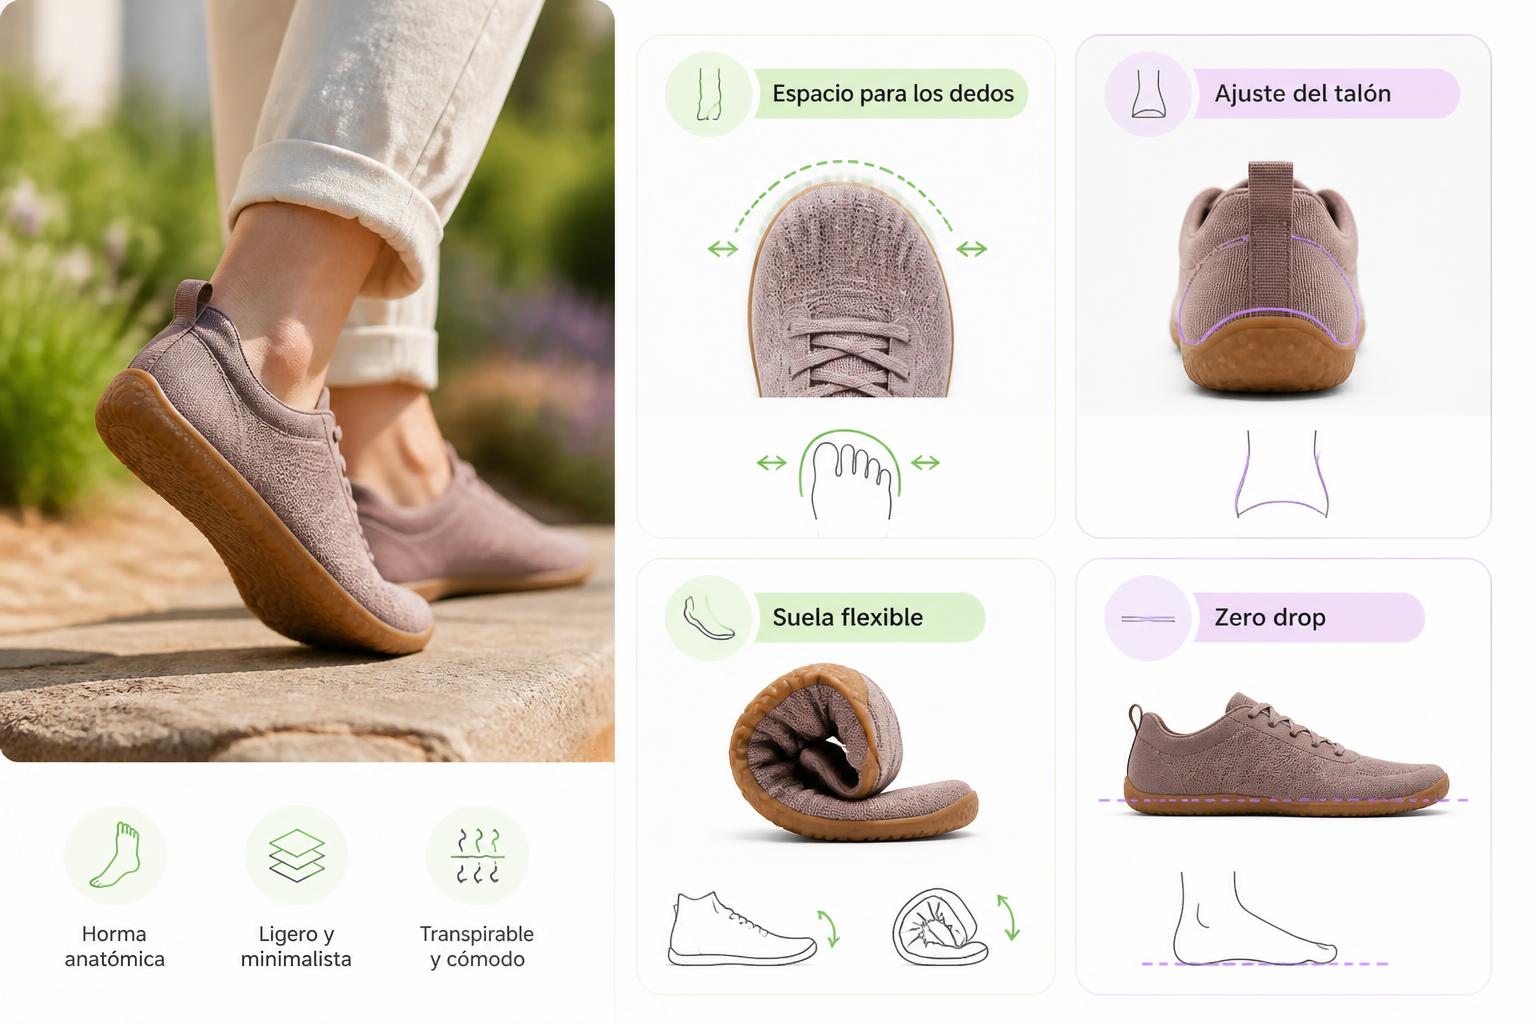
Measuring the length of your foot is a useful first step when choosing barefoot shoes online, but it does not always explain why a model feels tight across the instep or leaves your foot insufficiently supported. The interior space must also suit the shape and volume of each foot.
In this guide, you will find a home method for checking foot length, width and instep circumference. It does not replace the size chart for each brand, but it can help you compare options more carefully and identify the type of fit you need.
Measurement provides guidance; it does not place your foot in a rigid category. The last, material and fastening system can significantly change how the same size feels when worn.
¿Qué encontrarás aquí?
What foot volume means in a barefoot shoe
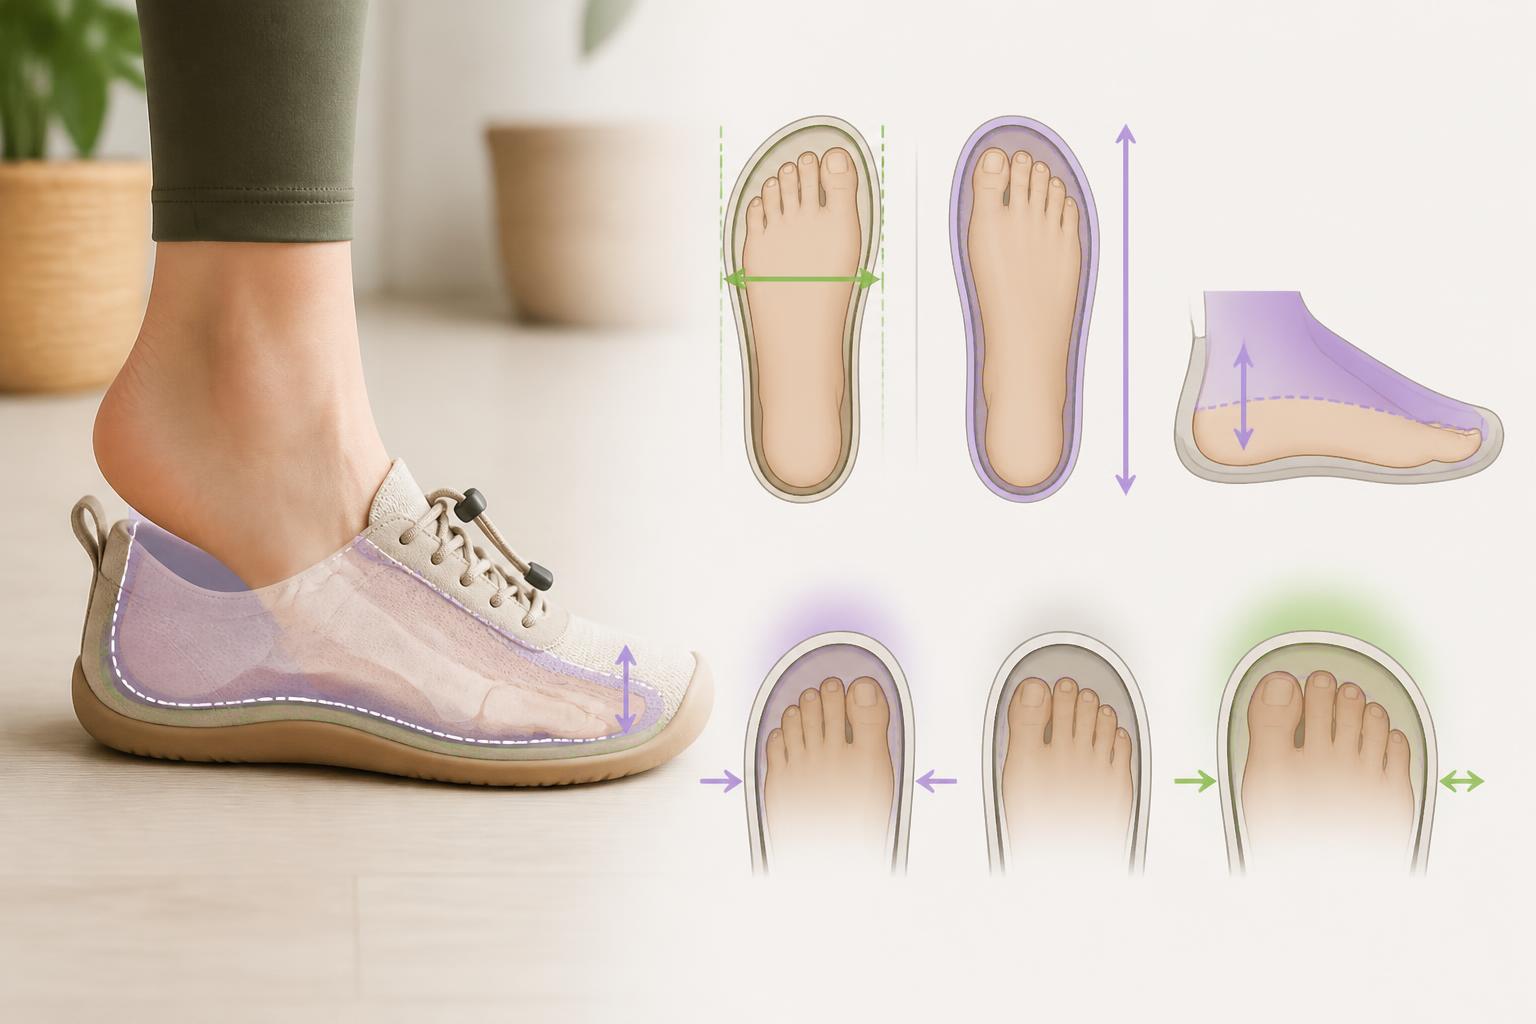
Foot volume describes the amount of space your foot occupies vertically and around the instep inside the shoe. It is not the same as length or width: a foot can have a certain length and still need more or less room over the forefoot and instep.
That is why two people with the same shoe size may feel comfortable in different lasts. Volume affects pressure from the tongue, lace tension, heel support and the appearance of creases or empty space.
Length alone does not confirm that a barefoot shoe fits well. If the shoe is too short, your toes may hit the front. If the space over your foot is unsuitable, the shoe may feel tight or allow too much movement even when the length seems right.
What you need before measuring your foot at home
For a useful comparison, measure both feet under similar conditions. Feet can change slightly throughout the day, so it is sensible to measure at the end of the day while standing and distributing your weight naturally.
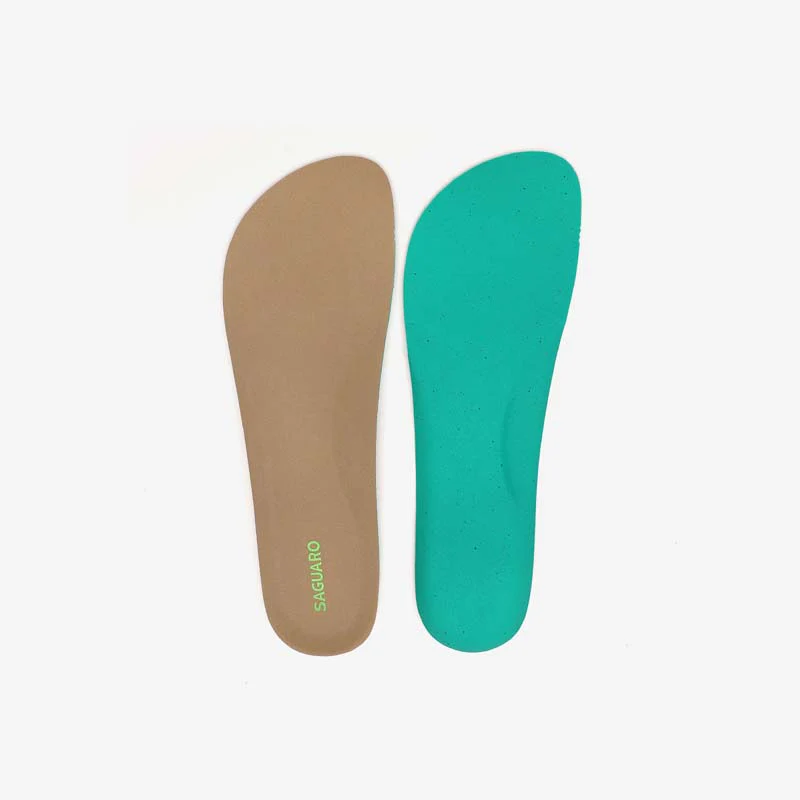
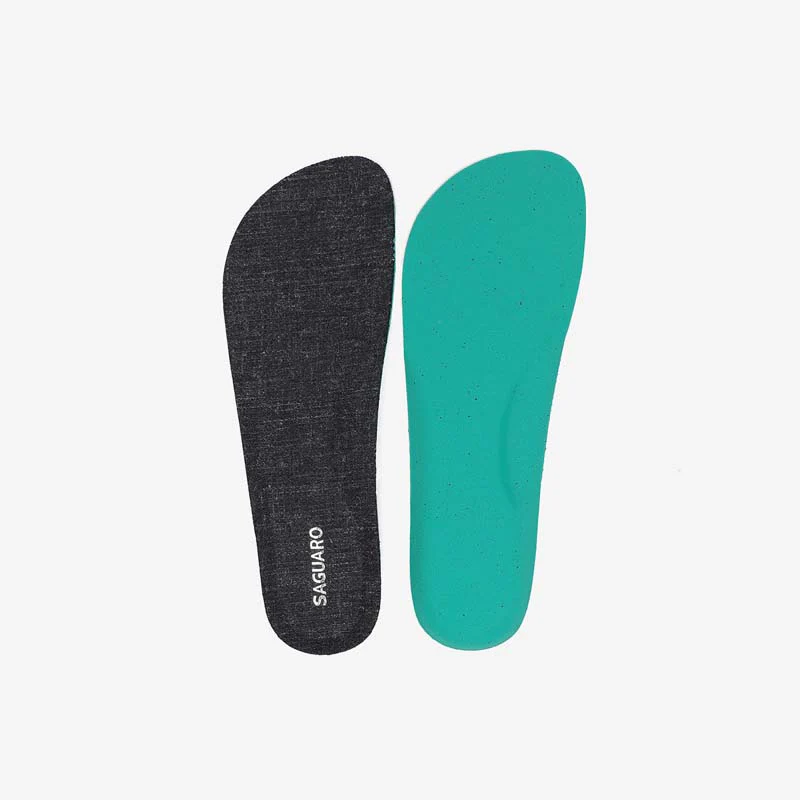
Prepare a sheet of paper, a pencil, a ruler or measuring tape, and a flexible tape measure. If you plan to wear socks or use a particular insole, you can repeat the check with those items because they change the available space inside the shoe.
- Place the paper on a firm, flat surface.
- Hold the pencil vertically rather than angling it inwards.
- Record each result in centimetres and avoid rounding it immediately.
- Record the left and right foot separately.
Consistent measuring conditions make your results easier to compare. If you measure barefoot one day and in thick socks the next, the results may appear contradictory even though your foot has not genuinely changed.
How to measure foot length, width and instep circumference
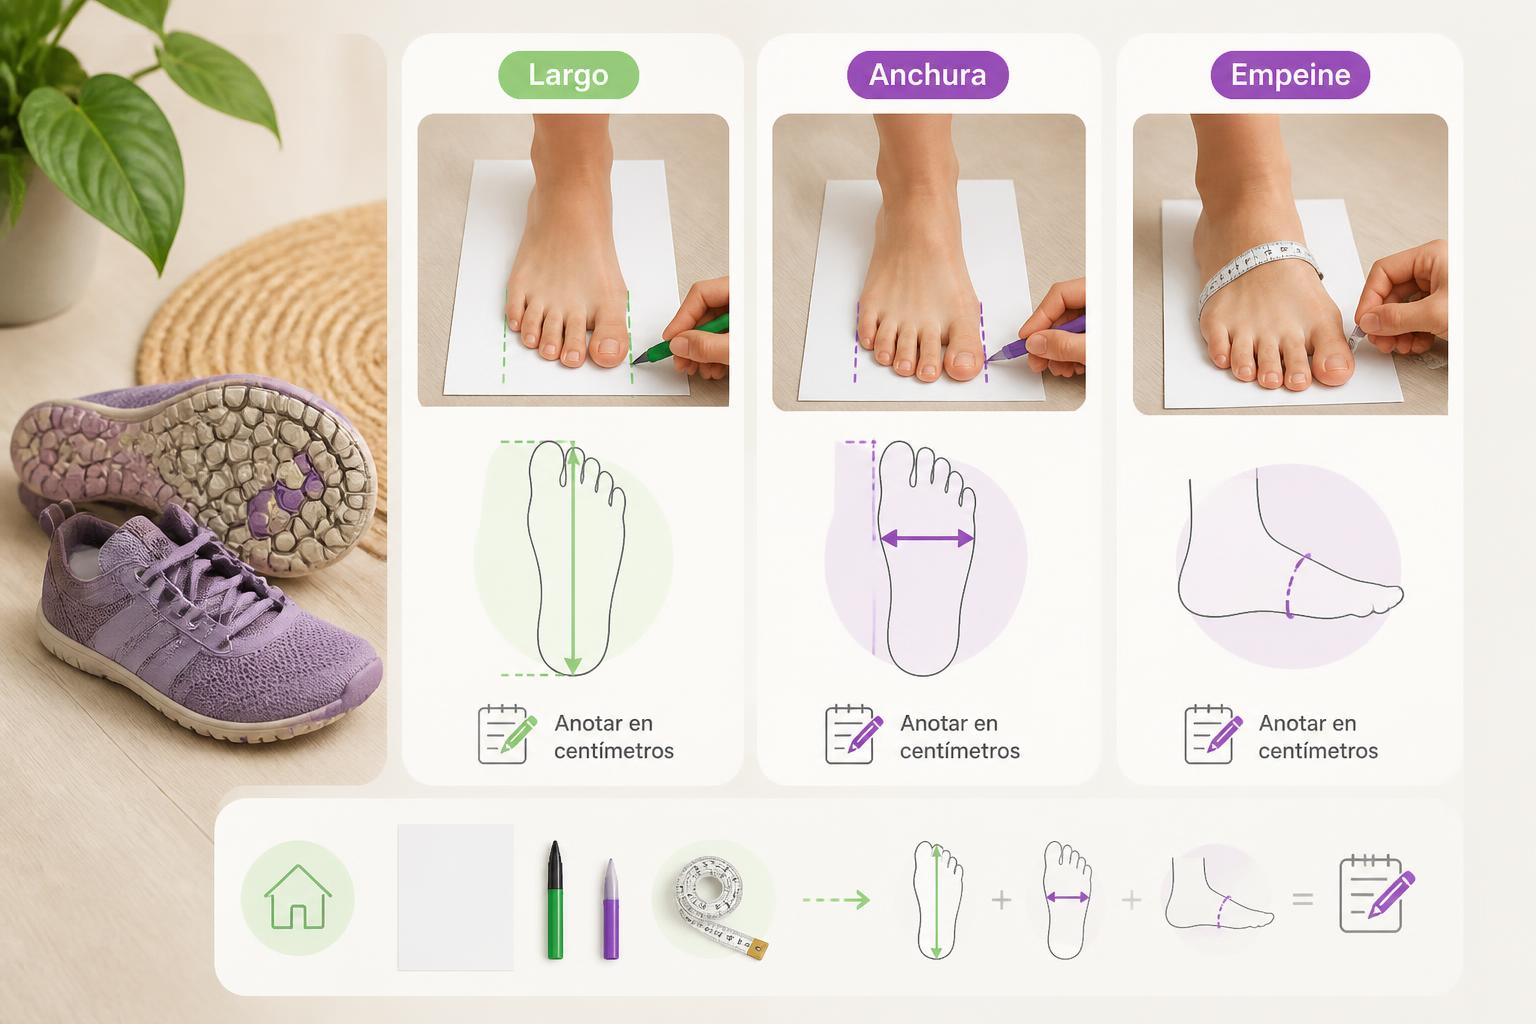
Start with length, continue with width and finish with instep circumference. Keep your foot supported throughout the process and repeat every measurement on both sides. If there are differences, do not remove them by calculating an average: write them down.
These measurements are intended as home guidance, not as a clinical or universal assessment. You will still need to compare them with the specific information provided for the brand and model.
How do you measure foot length?
Place your heel against a wall with the paper underneath, then mark the furthest point of your foot. You can also trace the outline while keeping the pencil vertical. The longest toe is not necessarily the big toe.
Measure the distance between the heel mark and the mark made by the longest toe. Repeat the process with the other foot and keep both figures, including their decimals. When checking a size chart, start with the longer foot.
How do you measure foot width?
Find the widest part of the forefoot, usually around the base of the toes. With your foot supported, measure the distance between the two furthest lateral points without bringing your toes together or pressing the skin.
Do this on both feet and note exactly where you took the measurement. The width of the last can vary between models, so this figure should be interpreted alongside the toe-box shape and the space your toes need.
How do you measure instep circumference?
Place the flexible tape over the highest part of the instep and pass it underneath the foot, approximately across the area opposite that point. It should follow the natural shape of your foot without crossing over or pressing into the skin.
Read the measurement when the tape is touching the foot gently, without compressing it or leaving a visible gap. Record whether you were wearing socks and repeat the process on both feet. A gentle, repeatable measurement is more useful than a tightly pulled tape.
How to tell whether you have a high, medium or low-volume foot
High, medium and low volume are practical ways to describe fit, not rigid classifications. There are no universal values that can label every foot, because the last, material and fastening system also change how a shoe feels.
Observe what happens when you try the footwear: whether there is pressure across the instep, whether the heel moves, whether you need to tighten the laces excessively, and whether your toes can move. Combine these signs with your measurements rather than relying on one impression.
Use pressure, empty space and support as combined clues. A shoe with little vertical space may leave marks or create localised pressure. One with too much volume may hold the foot poorly and require excessive tightening. These signs suggest reviewing the overall fit, but they do not prove by themselves that the size is wrong.
Signs of a high-volume foot
You may have a high-volume foot if the upper of the shoe presses quickly, the tongue feels very tight, or the laces have barely any room to close comfortably.
Also observe any marks left after removing the shoe. If they occur together with pressure while walking or a feeling of compression, you may need a different last, another fastening adjustment or more interior space. Do not automatically solve the problem by going up a size.
Signs of a low-volume foot
A low-volume foot may leave too much space over the instep even when the length seems suitable. In that situation, the foot may slide around or the shoe may crease across the upper.
If you need to tighten the fastening considerably to achieve support, check whether the model offers a fit compatible with your foot. A longer shoe could leave even more space in front, so assess the last rather than looking only at the size.
How to compare your measurements with a barefoot size chart
Always consult the specific chart for the brand and, when available, the information for the individual model. Look for internal length, width, details about the last and whether the insole is removable. Your usual size can be a starting point, but it is not confirmation.
Compare the larger foot with the model’s own measurements before choosing a size. Then check whether the model has a fastening system that allows you to adjust the instep. The space at the front should let your toes move freely without allowing the foot to slide. Consider the overall shape, not just the number shown on the label.
What should you do if your measurements fall between two sizes?
If your measurements fall between two options, check which one works better for the larger foot and for the intended use. Wearing the shoes for a few minutes is not the same as wearing them for a full day, and thin socks do not take up the same space as a thicker insole.
Also consider the fastening system and the exchange or return conditions. If the brand does not publish enough internal measurements, the decision will involve more uncertainty. In that case, avoid choosing solely by your usual size or by a shop’s general recommendation.
How to check the fit when your shoes arrive
Try on both shoes at home on a clean surface and with your usual socks. Walk around, flex your feet and check whether your toes can spread and move without touching the toe box.
Review four points: space in front, lateral freedom, pressure across the instep and heel support. The aim is for the foot to feel secure without being compressed. If you have persistent pain, an injury or a diagnosed condition, consult a healthcare professional before changing footwear.
Common mistakes when measuring foot volume
One common mistake is measuring while seated or with your weight shifted to one side. The result may also be affected by pulling the tape too tightly, tilting the pencil or measuring only the foot that feels more comfortable.
Other mistakes include measuring with a different insole from the one you will use, directly comparing centimetres with a size without checking the chart, or rounding the figures before recording them. If the result seems unusual, repeat the measurement under the same conditions.
What to record in your measurement sheet
You can create a simple record with these fields: date, left foot, right foot, length, width, instep circumference, socks worn and insole. Also indicate which foot is larger so you do not lose that detail when comparing models.
After trying a shoe, add the model, size, pressure points, heel movement and toe freedom. With several records, you can identify fit patterns and assess the available options more carefully at Zapatos-Barefoot.
| Measurement | Left foot | Right foot | Notes |
|---|---|---|---|
| Length | Toes and space at the front | ||
| Width | Widest area | ||
| Instep circumference | Pressure or space above the foot | ||
| Shoe fitting check | Heel, fastening and movement |