








When cold weather arrives, an insole can significantly change how your barefoot shoes feel inside. It can also make footwear that was previously comfortable start to feel tight, rub, or restrict your toes. That is why choosing a winter insole is not simply a matter of looking for the thickest option available.
The decision depends on the interior space, the material, the socks you wear and the shape of the shoe. In this guide, you will find a practical method for comparing winter barefoot insoles, calculating the available volume and deciding whether to replace the original insole or place another one on top.
¿Qué encontrarás aquí?
What a winter barefoot insole should provide
An insole can serve different purposes. Sometimes you may want to replace a worn or misshapen piece. In other cases, you may want to change the feel inside the shoe or add a layer for the colder months. Before buying, identify which of these needs you are trying to address.
Perceived warmth does not depend on the insole alone. Socks, the shoe’s fit, moisture, the amount of time you spend outdoors and the type of activity also influence it. A thicker insole may take up the space your toes need to move freely.
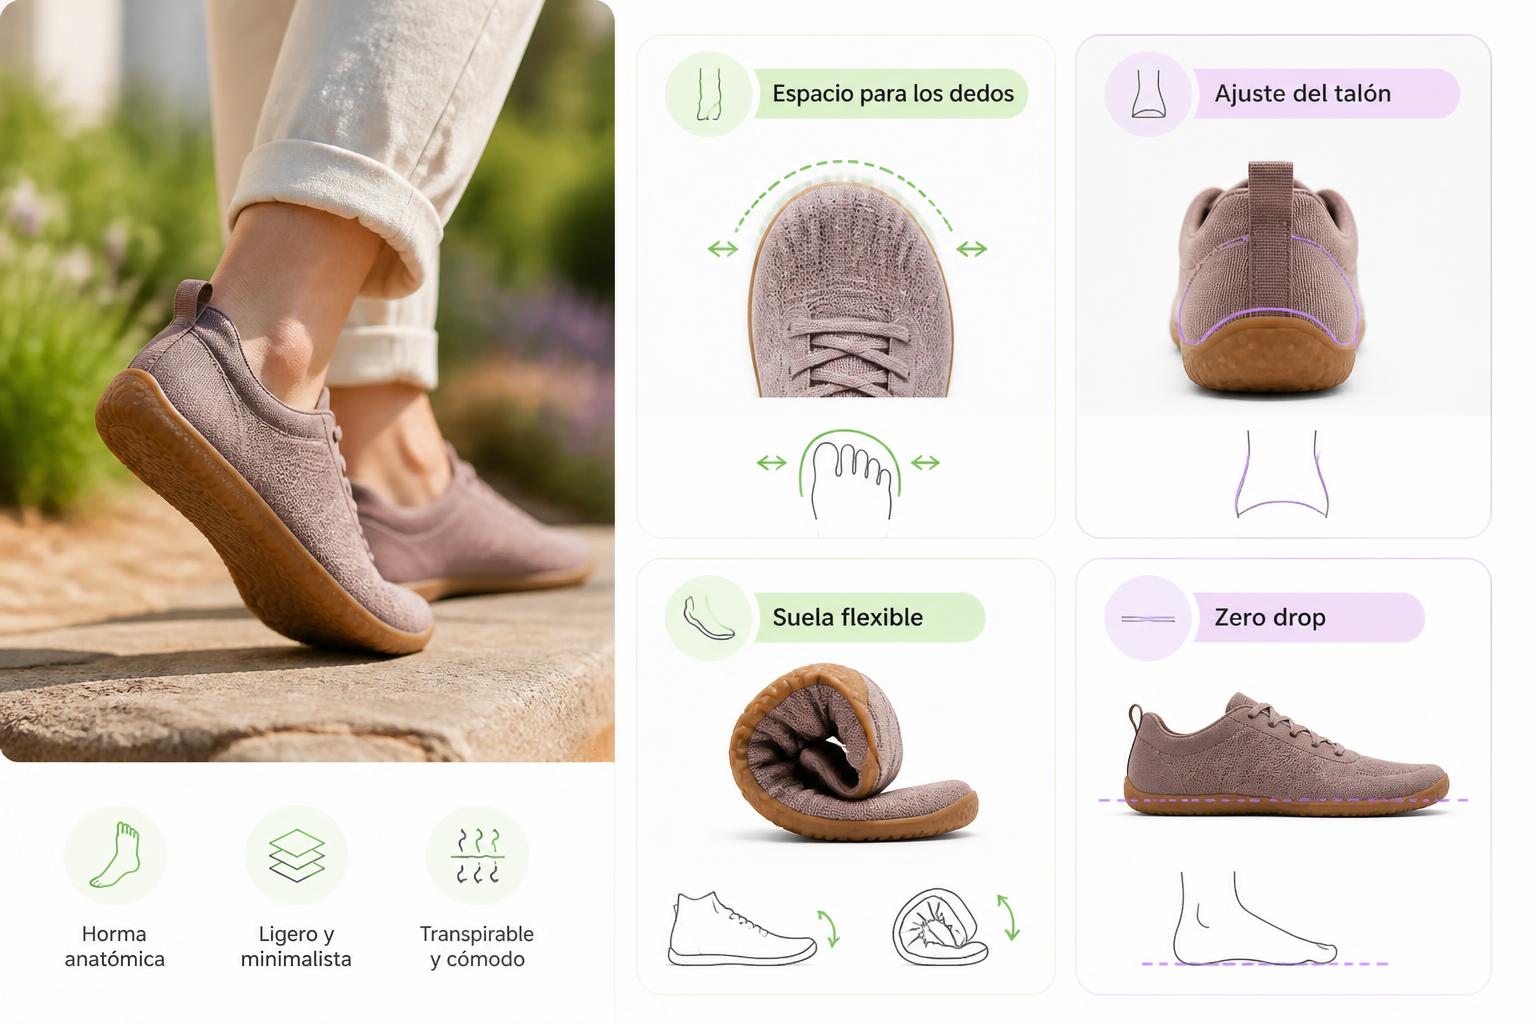
Review the whole combination: foot, sock, insole and shoe. The zero drop, flexibility and toe-box width should still suit the design and intended use. If you want more context, you can visit the guide to winter barefoot footwear.
An insole should not be treated as a therapeutic solution. If you have persistent pain, an injury, changes in sensitivity or a diagnosed condition, consult a healthcare professional before changing your footwear or insole.
Common materials: wool, linen, microfibre and other options
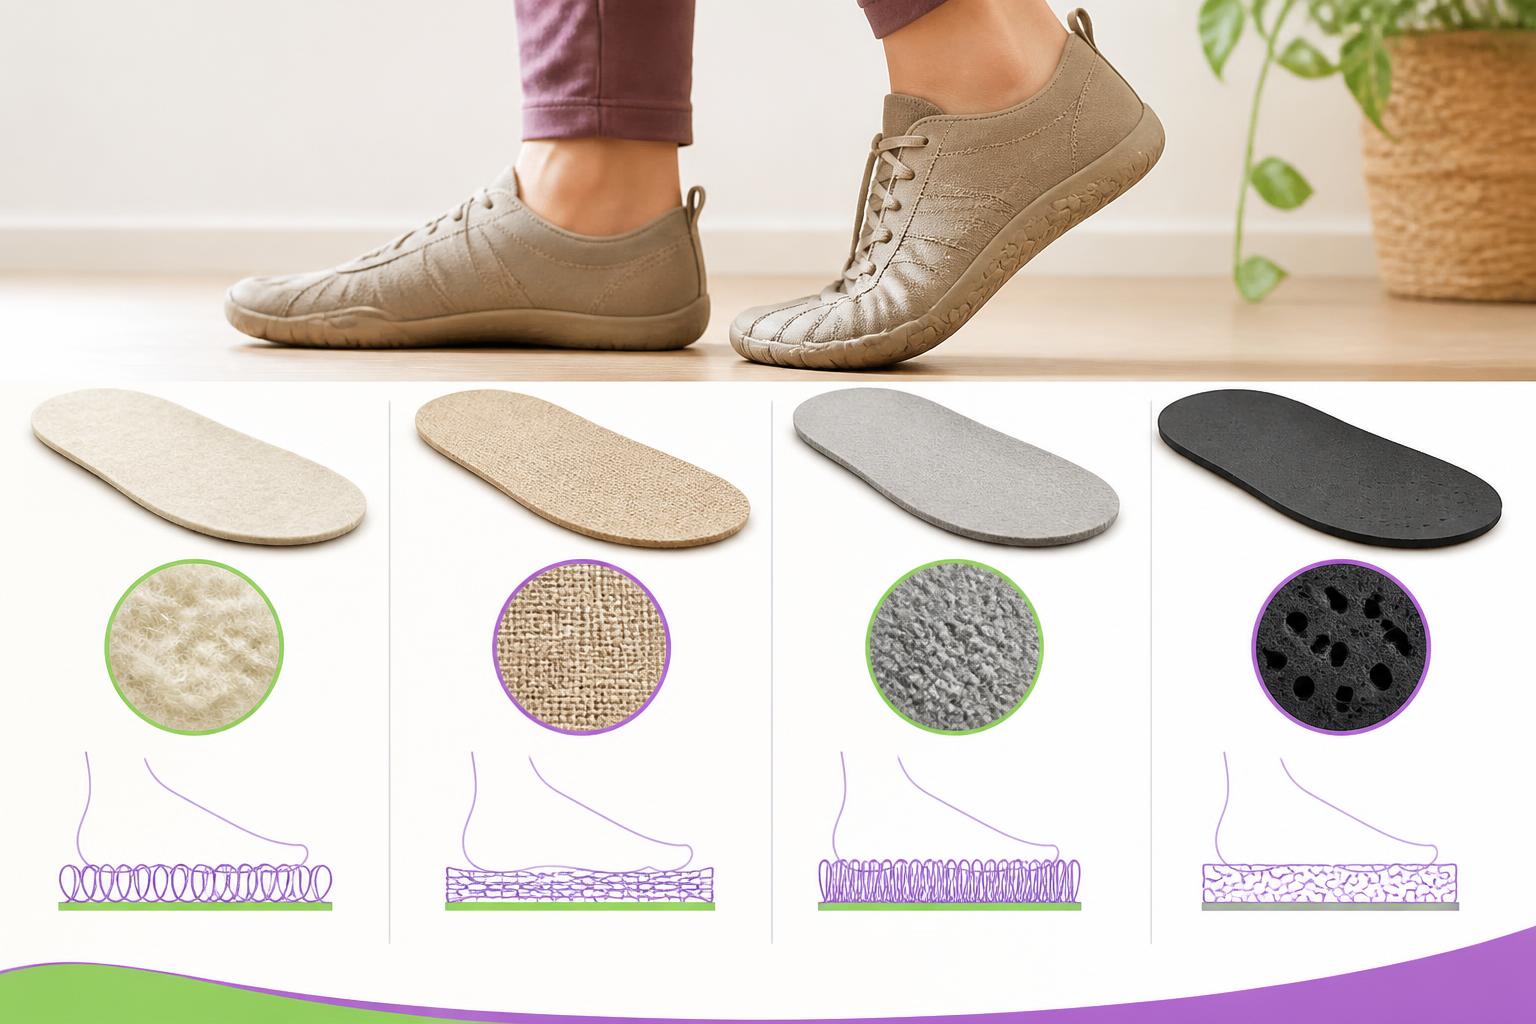
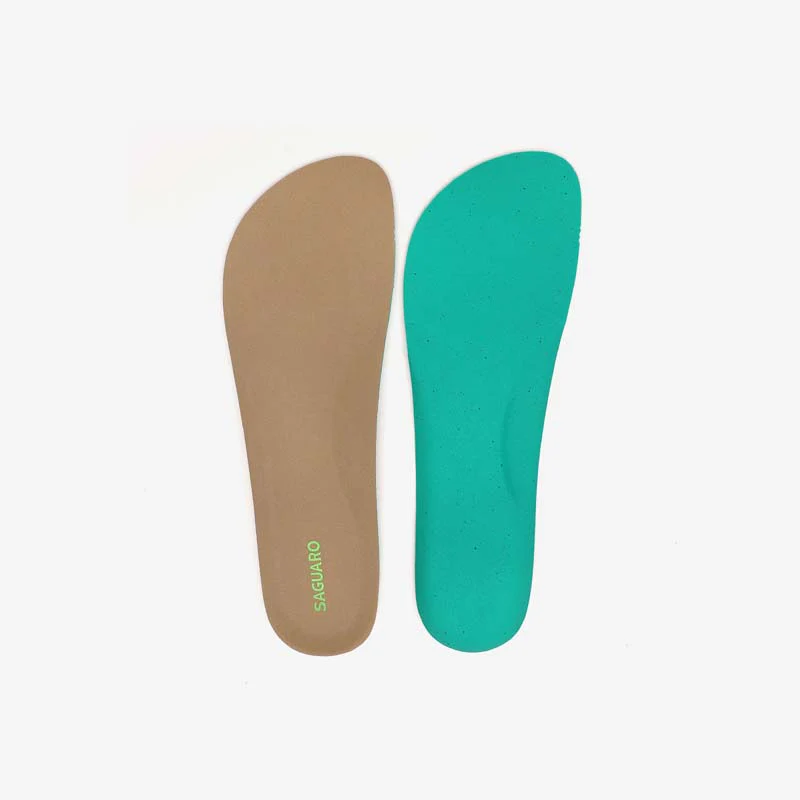
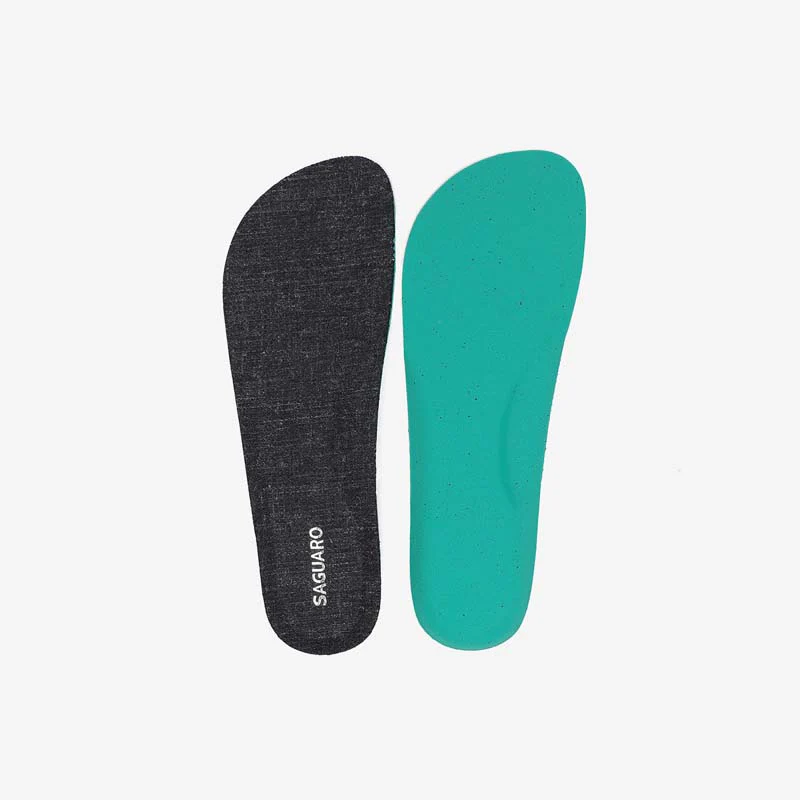
In winter, you may find insoles made from wool, linen, microfibre, textile fabrics or different combinations. It is not useful to rank these materials from best to worst in general, because the result depends on the specific construction, stated thickness and the inside of the shoe.
For comparison, check the product information and look for details about the surface feel, structure, flexibility, care requirements and measurements. When a property is not specified, it is better not to assume it. The sensation during a fitting also provides information that cannot always be inferred from the material’s name.
What differences should you look for between wool, linen and microfibre insoles?
A wool insole may appeal to you if you are looking for a surface commonly associated with winter use, but its composition, thickness and finish vary between models. Linen may appear in lighter or multi-season options, although its behaviour depends on how the insole has been made.
Microfibre is another option available on the market. When comparing products, check the current specifications rather than assuming that all insoles made from the same material will perform in the same way. The material can influence the feel, but the final fit remains decisive.
Before deciding, check five points: total thickness, flexibility when bent, the shape of the base, cleaning instructions and compatibility with your usual socks. A material may affect the feel against your foot, but the finished combination still needs to leave enough room and remain stable while walking.
Does a thermal barefoot insole have to be thick?
Not necessarily. Thickness is an important feature, but it does not indicate on its own how warm the insole will feel. A bulky insole may reduce the space above the toes, raise the heel or change how the foot rests inside the shoe.
Assess thickness alongside the intended use. Walking for short periods may require a different combination from standing still for hours in a cold environment. Test the insole with the socks you normally wear and avoid choosing one that forces you to compress your foot to close the shoe.
How to calculate thickness and the space available
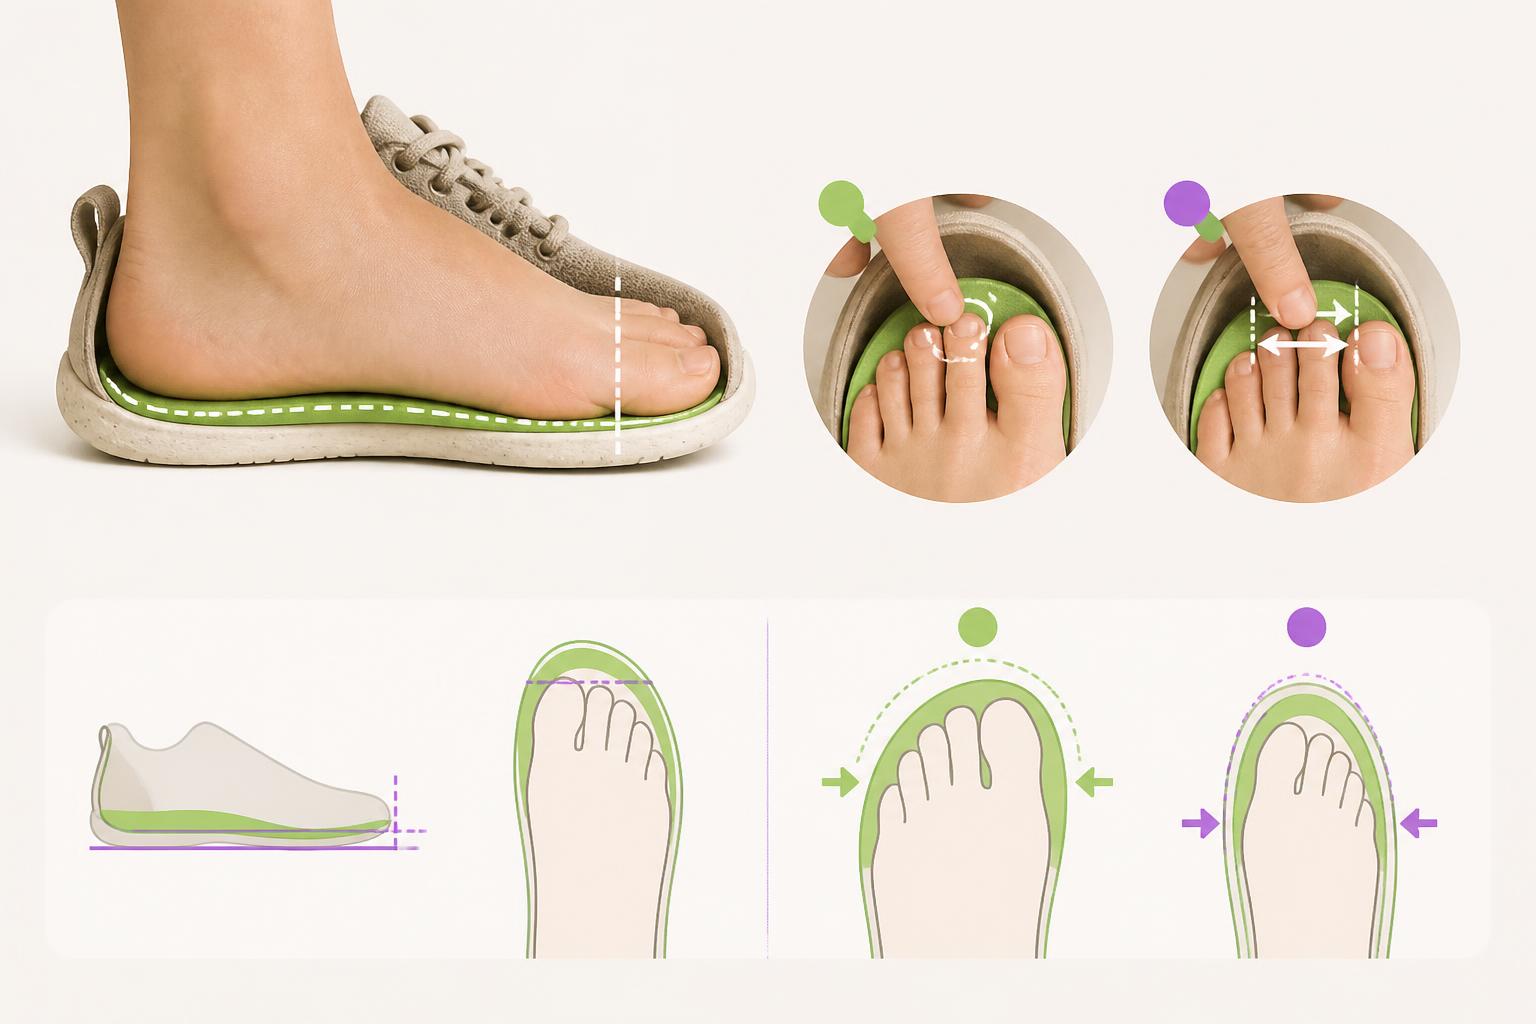
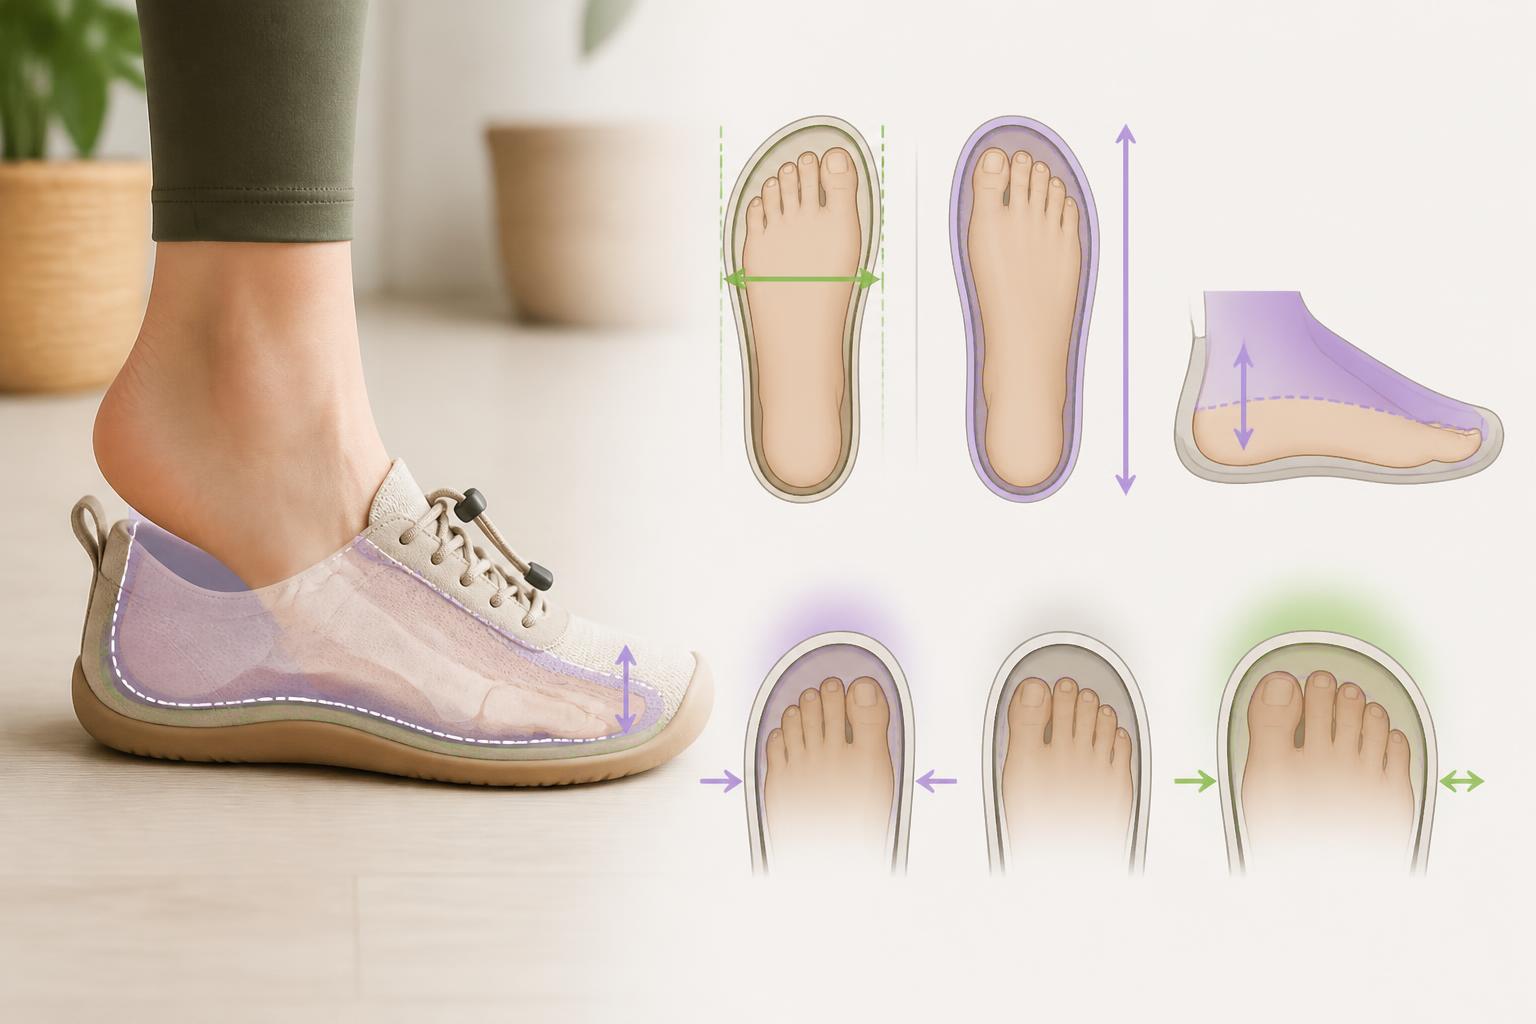
Useful space cannot be calculated by looking only at the shoe size. Two models with the same nominal length may offer different internal volume, particularly around the toes, instep or heel.
Start by examining the original insole. If it is removable, take it out carefully and check whether it is flat, misshapen or marked in any area. Then compare its thickness and shape with the replacement. Toe-box width also matters: you should assess the insole alongside the criteria of a wide barefoot shoe shape, rather than in isolation.
The meaningful reference is how the complete combination fits when worn and moving, not just how the replacement measures on a table.
How can you measure the interior space before buying an insole?
First, remove the original insole if the design allows it and place it on top of the new one. Check whether both have a similar shape and length. If the replacement sticks out, bends or intrudes into the side areas, it may not be compatible even if the length appears correct.
Next, estimate the vertical space available. You can place the new insole inside without securing it, put on the shoe with your usual sock and stand up. Walk around indoors for a few minutes and observe whether the instep or toe area feels more pressured than before.
If the original insole cannot be removed, do not force it. In that case, the replacement should only be placed on top if the shoe retains enough volume. Note the thickness of each option and compare the result with the insole you were using previously.
How can you tell whether the insole leaves enough room for your toes?
While standing, check that your toes do not rub against the upper or get pushed to one side. Try to spread them naturally and notice whether they can move freely inside the toe box. A secure fit can be stable; constant compression is a different sign.
Walk, go up and down stairs if possible, and pay attention to changes. Your heel should not slip out, your instep should not feel compressed and your toes should not hit the front as you move. If you notice clear rubbing or feel trapped inside the shoe, the combination needs reviewing.
Also observe the width. An insole with edges that are too wide may push against the sides of your foot even when the length is sufficient. If you are unsure between two thicknesses, try the thinnest option that meets your comfort and space requirements first.
Should you remove the original insole or place the new one on top?
There is no single rule for every barefoot shoe. The choice depends on whether the original insole is removable, how the interior is constructed and how much room remains when another layer is added. Some insoles form part of the fit intended by the manufacturer, and removing them may change how the footwear feels.
Replacing the insole usually reduces the total volume compared with layering two insoles, but the replacement must fit securely and avoid creating creases. Placing an insole on top can be straightforward when there is enough space, although it adds height and may affect stability. If your foot is compressed, the combination does not work even if the insole itself is flexible.
Test the arrangement gradually at home before wearing it for many hours. Use the shoes with your usual socks and check the fit after walking. If the design does not make clear what to do with the original insole, consult the manufacturer’s instructions or the product information.
When replacing the original insole may make sense
Replacing it may be reasonable when it is worn, misshapen, creased or stays damp for long periods. It may also be considered if the replacement has a shape that better suits the intended use and fits without reducing the available space.
Before removing the original permanently, compare both pieces outside the shoe. The new one should sit steadily and respect the interior length and width. Then test the footwear while standing and walking. If the heel position or flexibility changes too much, stop the test and reconsider the choice.
When you should not layer two insoles
Adding one insole on top of another can leave less room for the toes and increase pressure across the instep. It can also raise the heel, make the foot slide or create folds under the sole. These signs suggest that the added volume is harming the fit.
Do not layer two insoles simply to gain more thickness. If the shoe feels narrow, do not try to compensate by loosening the laces or forcing yourself to wear it. Consider removing the original only if it is removable and the manufacturer does not advise against doing so.
Testing, signs of poor fit and winter care
The final test should reproduce how you will actually use the shoes. Put on the socks you normally wear, insert the insole and walk around at home for a few minutes. Check the fit at the beginning and after moving, because some discomfort only appears when the foot changes position.
If everything feels comfortable, increase the wearing time gradually. Do not use a new combination for a long outing before checking your toe freedom, stability and sole flexibility.
Care depends on the material and the instructions for each product. Follow the relevant washing and cleaning guidance for barefoot insoles to avoid damaging the layers or changing their shape.
What signs show that the insole does not fit properly?
Review your choice if you notice less room for your toes, rubbing across the instep, pressure at the sides or a trapped feeling. It is also important if your heel slips out, folds appear or your foot slides while walking.
Observe the sole in motion. If the insole makes the shoe flex in a clearly different way or makes walking more difficult, remove it and compare the result with the original setup. Persistent discomfort should not be interpreted as a normal adaptation phase: stop using that combination and consider professional advice if it continues.
How to care for and dry a winter insole
If the design allows it, remove the insole after wearing the shoes and leave it to dry in a well-ventilated place. Avoid intense heat or placing it directly on a heat source, as this could deform it or affect its layers.
Do not wash an insole without checking its instructions first. Suitable cleaning methods vary according to the material and construction. If it becomes wet, prioritise gradual drying and check that it has regained its shape before putting it back inside the shoe. This also gives you the chance to spot deformation, creases or wear that could affect the fit.
In short, the right choice is not necessarily the thickest, warmest or most noticeable insole. It is the one that fits the shoe’s actual space and lets you walk without compression. Measure, test the complete combination and change options if clear signs of poor fit appear.