


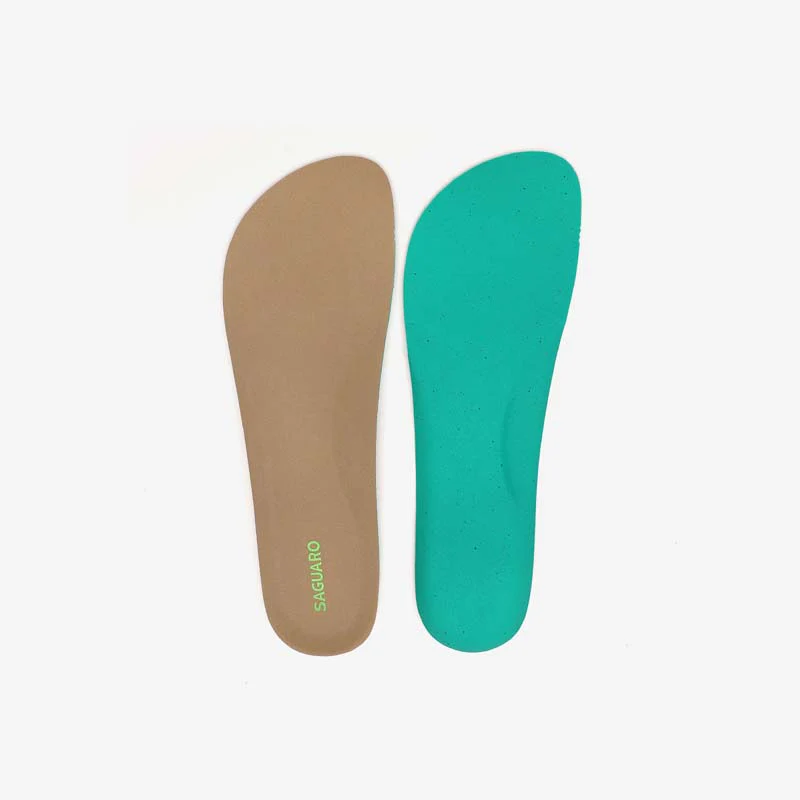
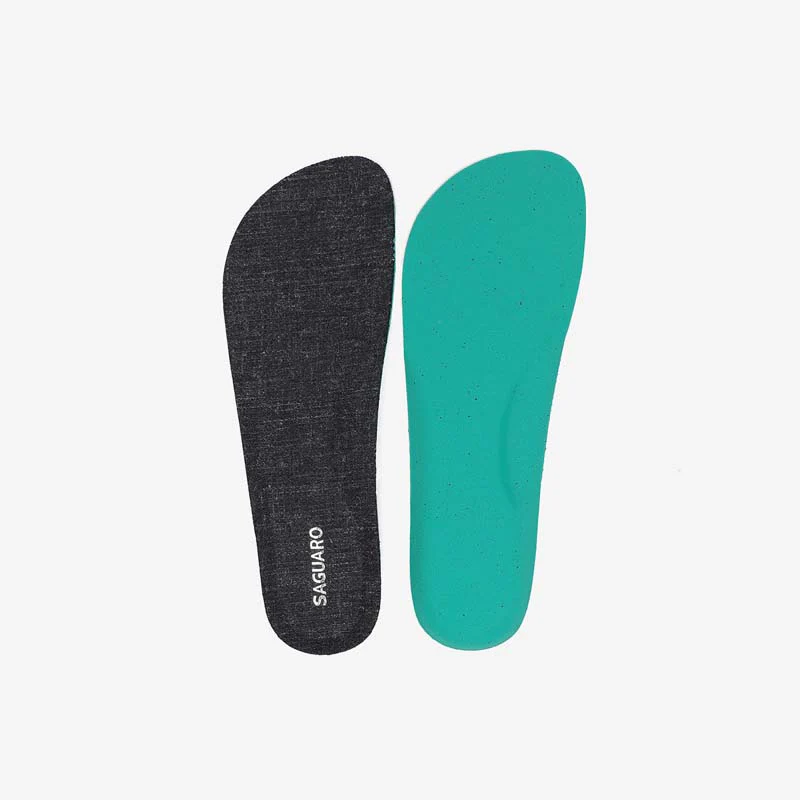





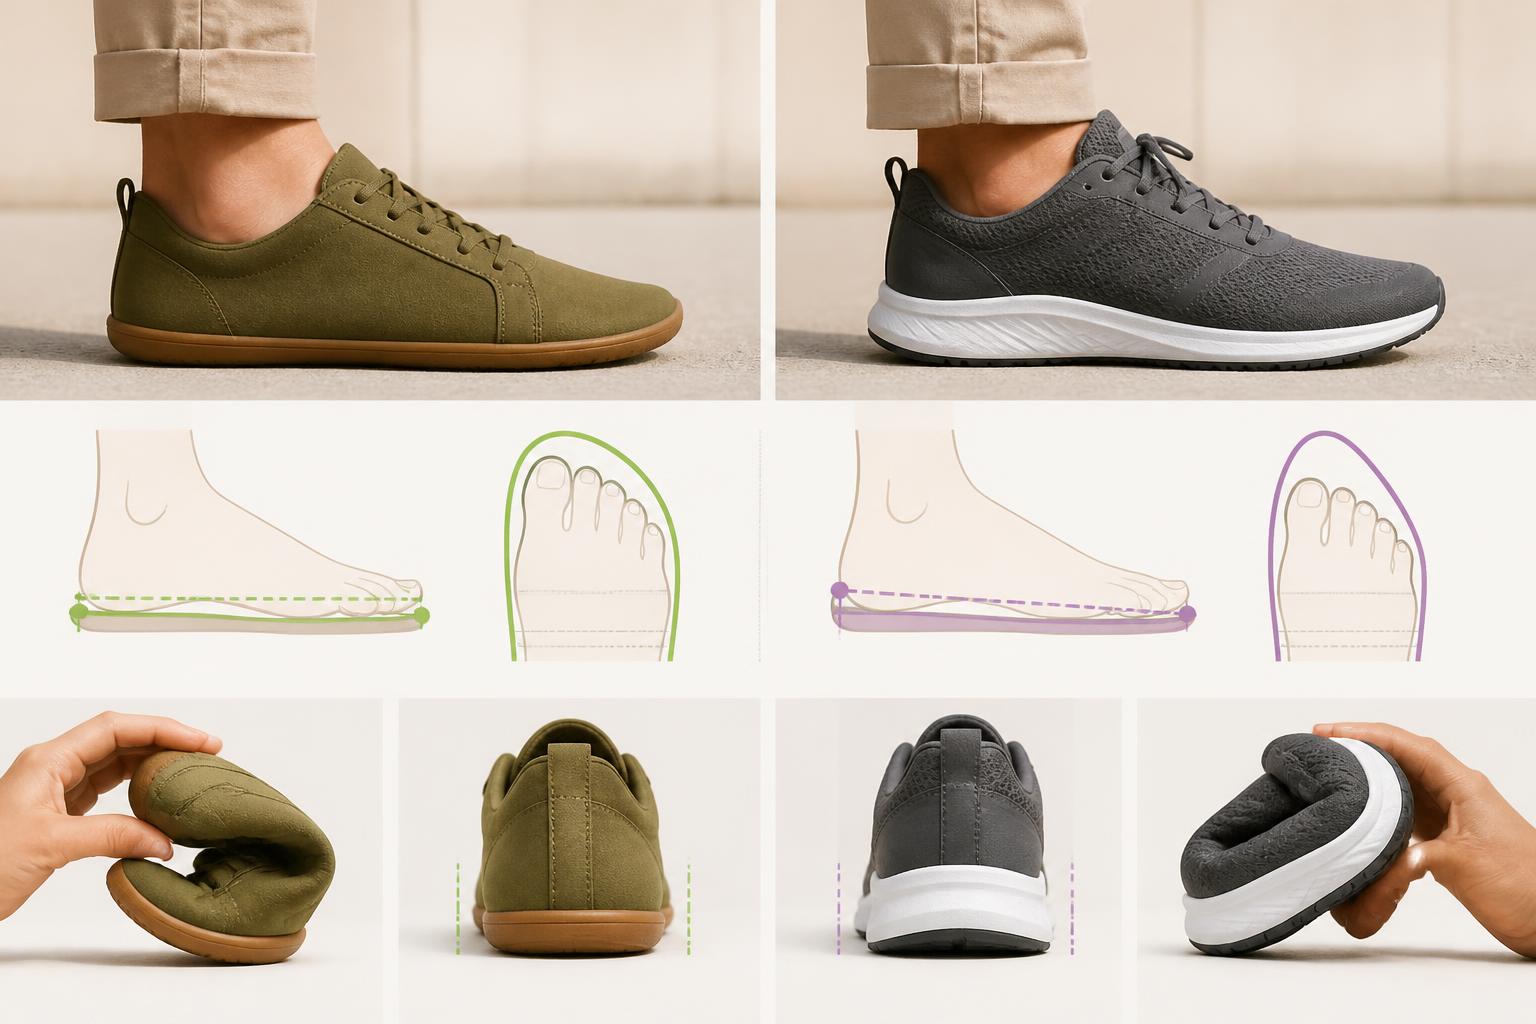
Choosing insoles for barefoot shoes is not simply a matter of looking for the same size you use in your footwear. Length, width, thickness, shape and heel elevation can all change the fit inside the shoe.
Before buying a replacement insole, compare it with the one that already fits your footwear and then test the new one gradually. This will help you notice whether it reduces toe room, presses against the instep or changes the way the shoe holds your foot.
¿Qué encontrarás aquí?
What is the difference between an original, replacement and conventional insole?
The original insole is the one supplied with the shoe and forms part of the fit intended for that model. Even when it is removable, its shape and thickness affect the amount of interior space available and the position of the foot.
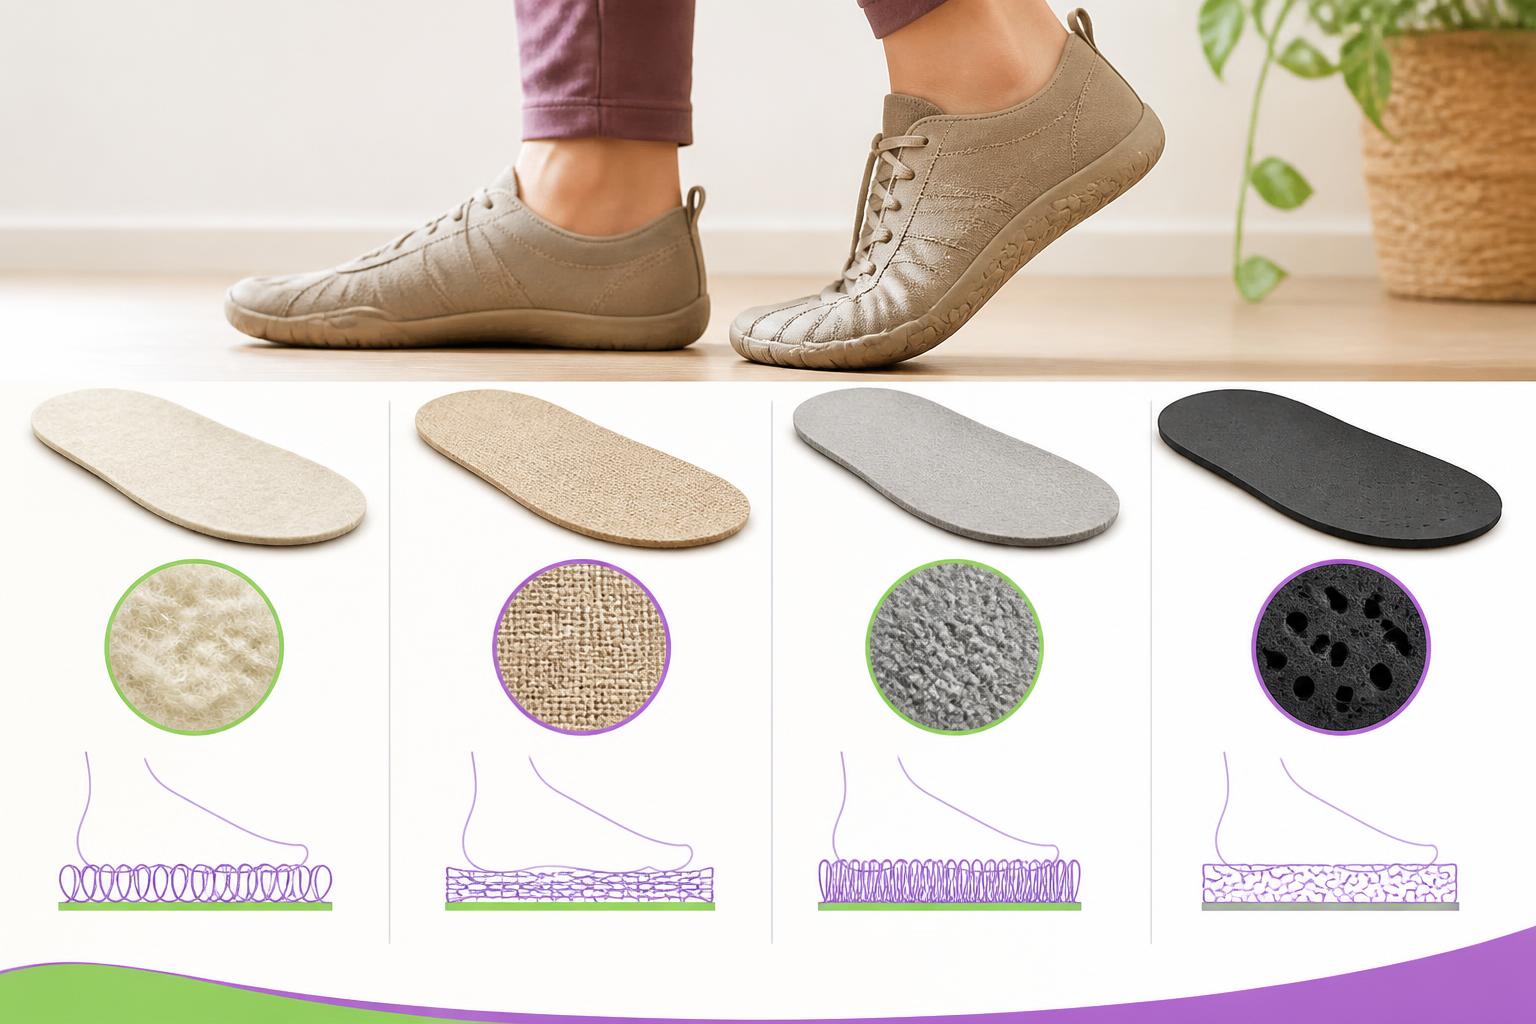
A replacement barefoot insole does not have to be identical simply because it carries the same size label. Its dimensions and construction need to work with the specific shoe. A conventional insole, particularly one that is rigid, cushioned or raises the heel, can change the volume and feel of minimalist footwear.
For this reason, you can use the barefoot footwear guide as a starting point, but always review the available features and compare them with your original insole. There is no universal compatibility between brands or models.
Before buying: check the shoe and measure the original insole
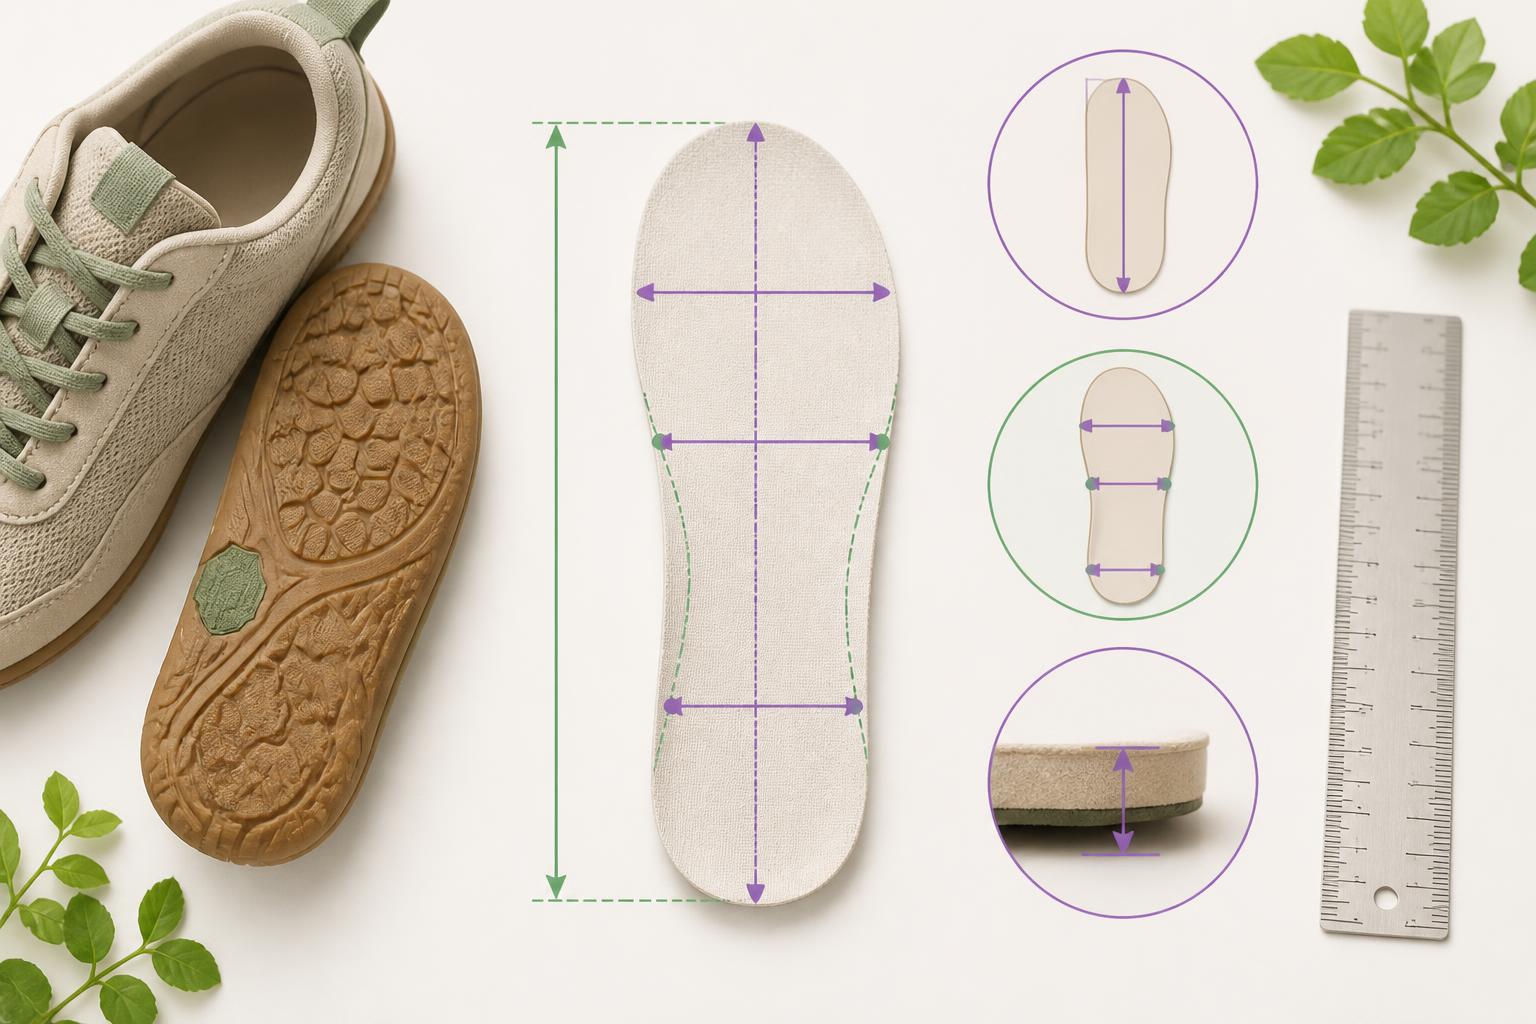
If the design allows it, carefully remove the original insole and place it on a flat surface. Measuring it directly provides more useful information than relying only on the size shown on the box or shoe tongue.
Write down the measurements and examine the outline as well. Two insoles with the same length can differ considerably around the toes, sides, arch or heel. These details can determine whether the replacement stays stable or shifts as you walk.
How do you measure the length and width of a barefoot insole?
Measure the length from the furthest point of the heel to the tip, following a straight line. If the insole has become misshapen through use, try to place it in its natural position without stretching it or forcing the edges.
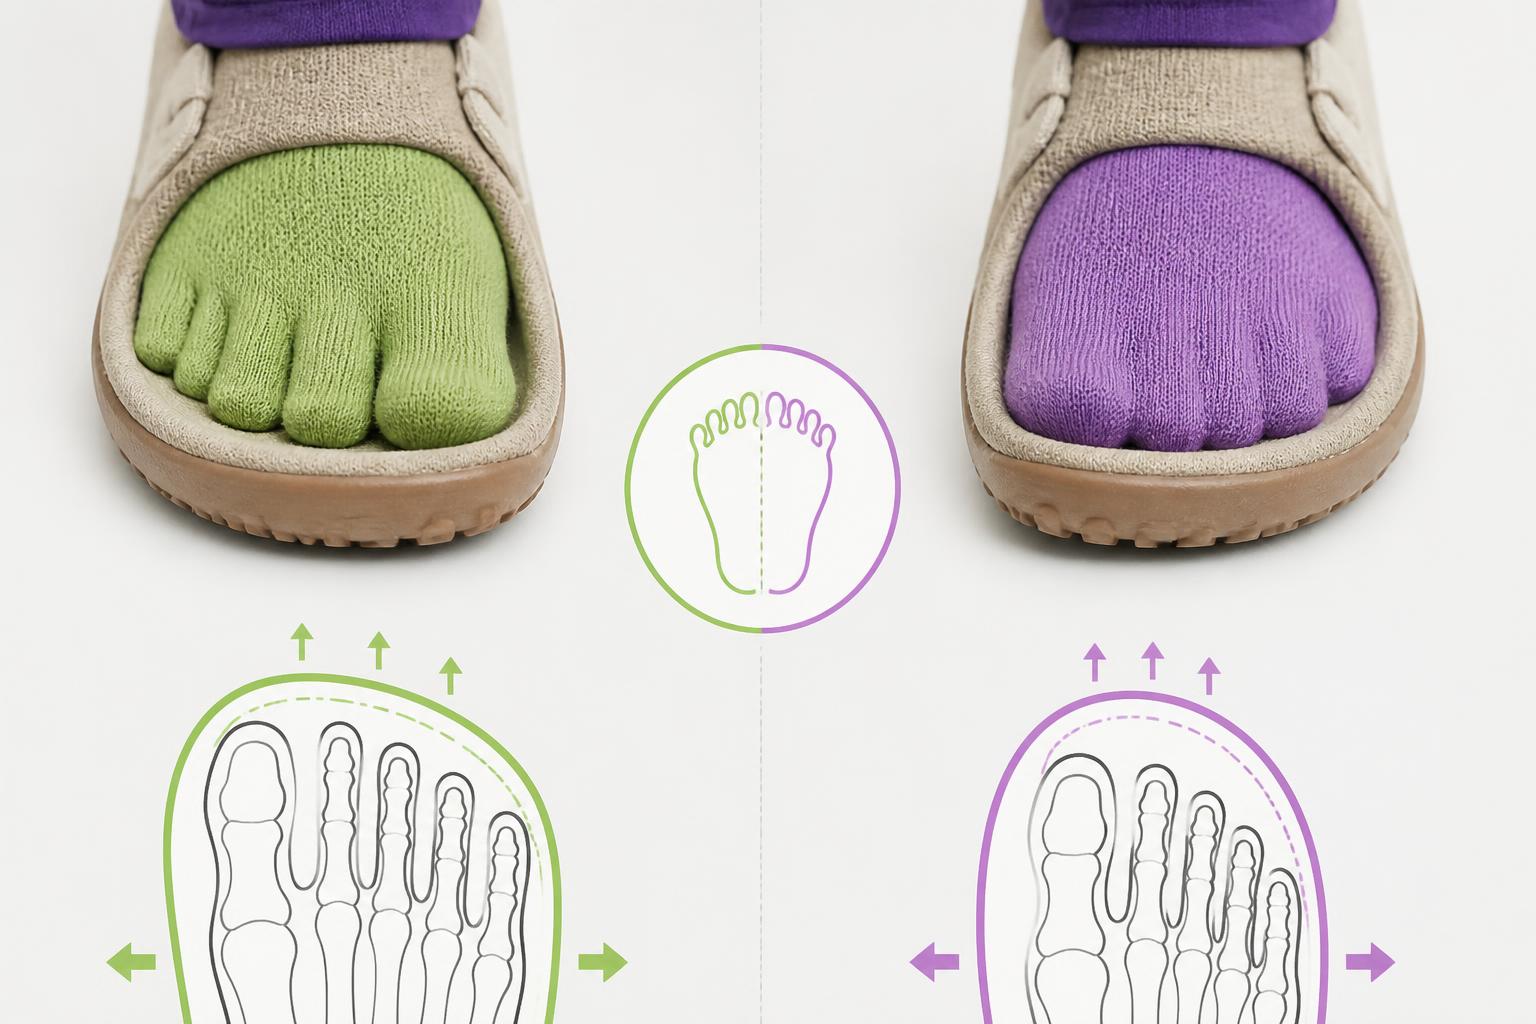
For the width, take measurements at several points: heel, midfoot and forefoot. The maximum width matters, but its distribution matters too. A narrower toe area can restrict toe room even when the overall length matches.
How can you check thickness without deforming the insole?
Use calipers if you have them and measure an area that is relatively even, without compressing the material. If the insole includes cushioning or reinforcements, also record the approximate thickness of those areas instead of comparing only one point.
When you cannot measure precisely, place the original insole next to the replacement on a flat surface and compare their profiles. The difference may seem small in your hand but still occupy enough space to change the fit of the shoe.
What information should you note before looking for a replacement?
Prepare a record showing the length, width at three points and approximate thickness. Add whether the heel is raised, whether the insole has a pronounced shape and whether it can be removed without lifting parts of the shoe’s interior.
It is also useful to note the insole’s condition: wear, deformation, creases or sunken areas. If the original has already lost its shape, compare it with the base of the shoe to check that the measurements do not reflect uneven use.
How to compare the replacement insole with the original
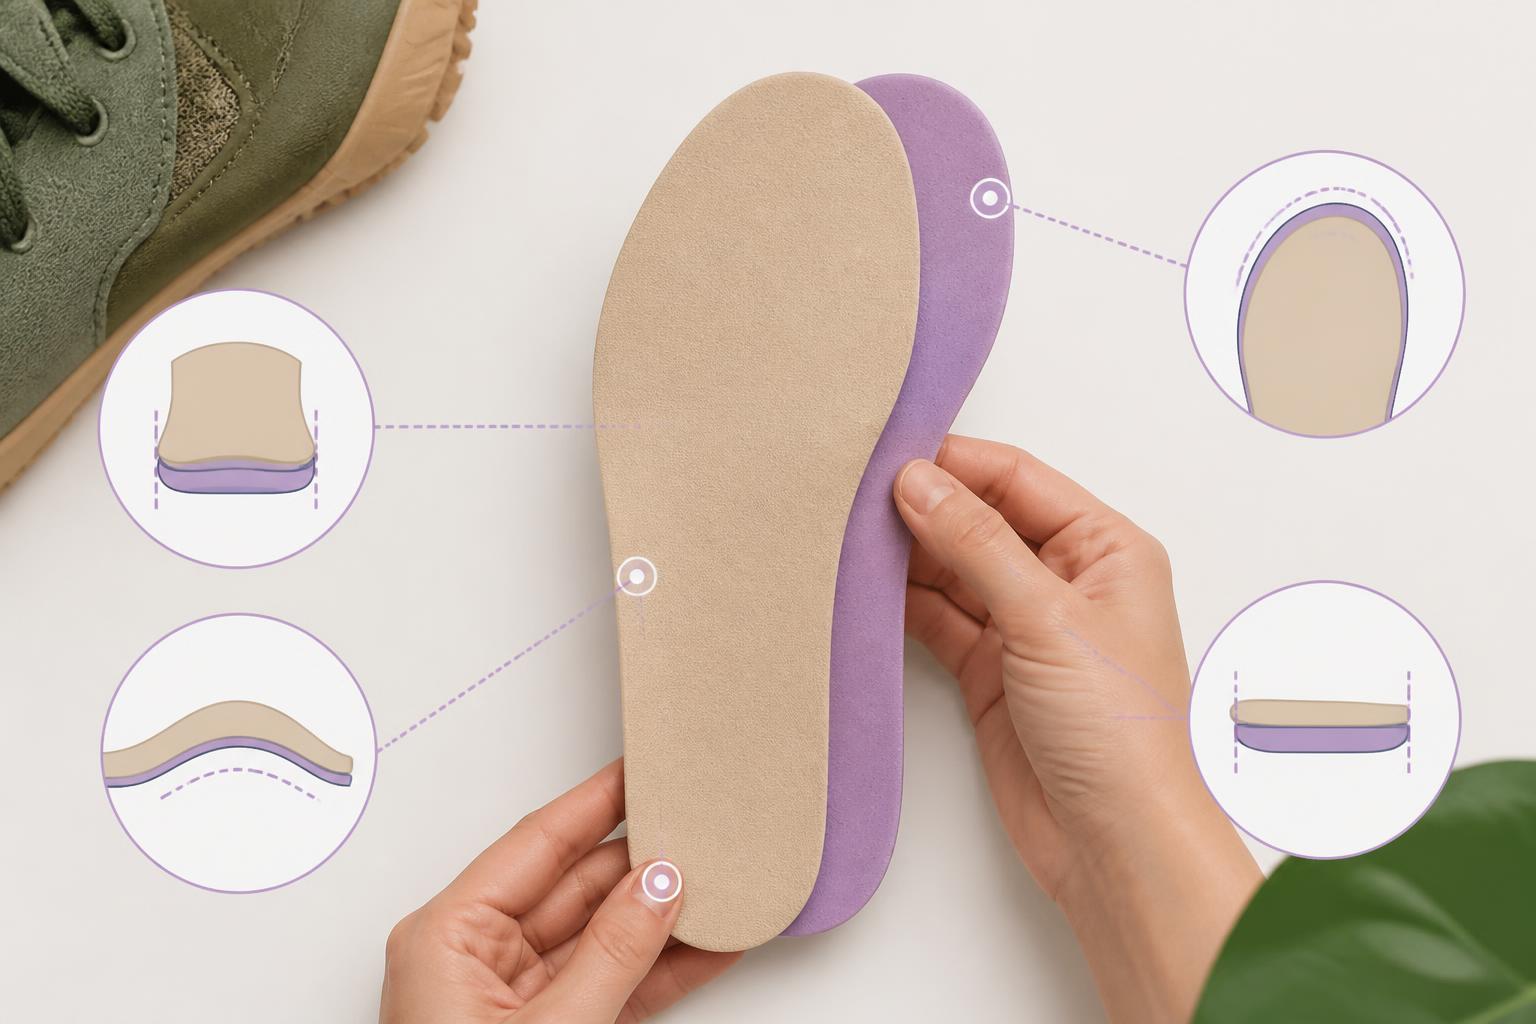
The simplest comparison is to place both insoles on top of each other before putting them into the shoe. Align the heels first, then check the toe area and sides. This method helps you identify visible differences without yet compromising the fit.
If the replacement sticks out, sinks in one area or leaves part of the base uncovered, do not assume that the shoe will compensate for it. The marked size does not replace a physical check of the shape and dimensions.
Comparing shapes: which areas should you check?
Check that the heel has a similar width and does not extend beyond the sides. In the midfoot area, see whether the replacement’s arch matches the base of the shoe or introduces a shape that was not present in the original insole.
At the toe, make sure the new insole does not end too soon or intrude into the usable space for your toes. The edges should lie flat without folding. If the replacement can be trimmed, follow the manufacturer’s instructions and avoid modifying it as a first solution.
When can a wider or narrower insole cause a problem?
A wider insole may curve against the shoe walls or lift the sides. This can create pressure and cause the insole to move. A narrower one, by contrast, may leave areas unsupported and shift while you walk.
Always relate the measurement to the shoe’s shape. In a shoe with a wide toe box, the insole should allow the toes to retain room to move. This is one of the key points to consider when choosing foot-shaped barefoot footwear.
Thickness, heel elevation and interior volume
The thickness of the replacement takes up some of the interior volume previously available to the foot. A thicker insole may press against the instep, reduce toe freedom or make the fastening system fit differently.
The difference in height between the heel and forefoot within the complete setup also matters. Even when the shoe sole is flat, an insole with more material beneath the heel can change the feel of a zero-drop model.
The final effect depends on the shoe’s construction, available space and fastening system. Therefore, it would not be responsible to claim that a thin or zero-drop insole will be compatible with every shoe.
Can a thicker insole alter zero drop?
It can change the perceived height if it adds more material beneath the heel than beneath the forefoot. This does not always happen to the same extent, because each insole has a different shape and distribution of materials.
Compare the heel profile and front section with the original insole. If your aim is to maintain a flat feel, look for both areas to be equivalent and then check the complete setup with the shoe on your foot.
How can you tell whether the new thickness reduces space too much?
Put on the shoes with the socks you normally wear and fasten them without tightening more than usual. Notice whether the instep feels compressed, whether marks appear quickly or whether your toes lose vertical and lateral space.
Walk for a few minutes on a safe surface. The absence of immediate pain does not by itself confirm a correct fit; also check for rubbing, numbness, localised pressure and freedom of movement.
What is the relationship between the insole, volume and foot hold?
An insole can occupy previously unused space and improve foot retention if the shoe was too loose. However, if it adds too much volume, it may prevent the fastening system from working properly or press against the instep.
If your foot slides forwards, your heel lifts or the insole shifts, the combination needs to be reviewed. Do not try to compensate for incompatibility by excessively tightening laces or straps.
How to insert the insole and test the shoe safely
Place the replacement with the heel properly aligned and make sure it lies flat, without creases or raised edges. Check that it does not cover seams, fastening areas or interior elements that need to remain clear.
Carry out the first test for a limited time and in a controlled setting. If you are new to barefoot footwear or have sensitive feet, make any insole change cautiously and avoid increasing your wearing time at the same time.
What to check when walking with the new insole
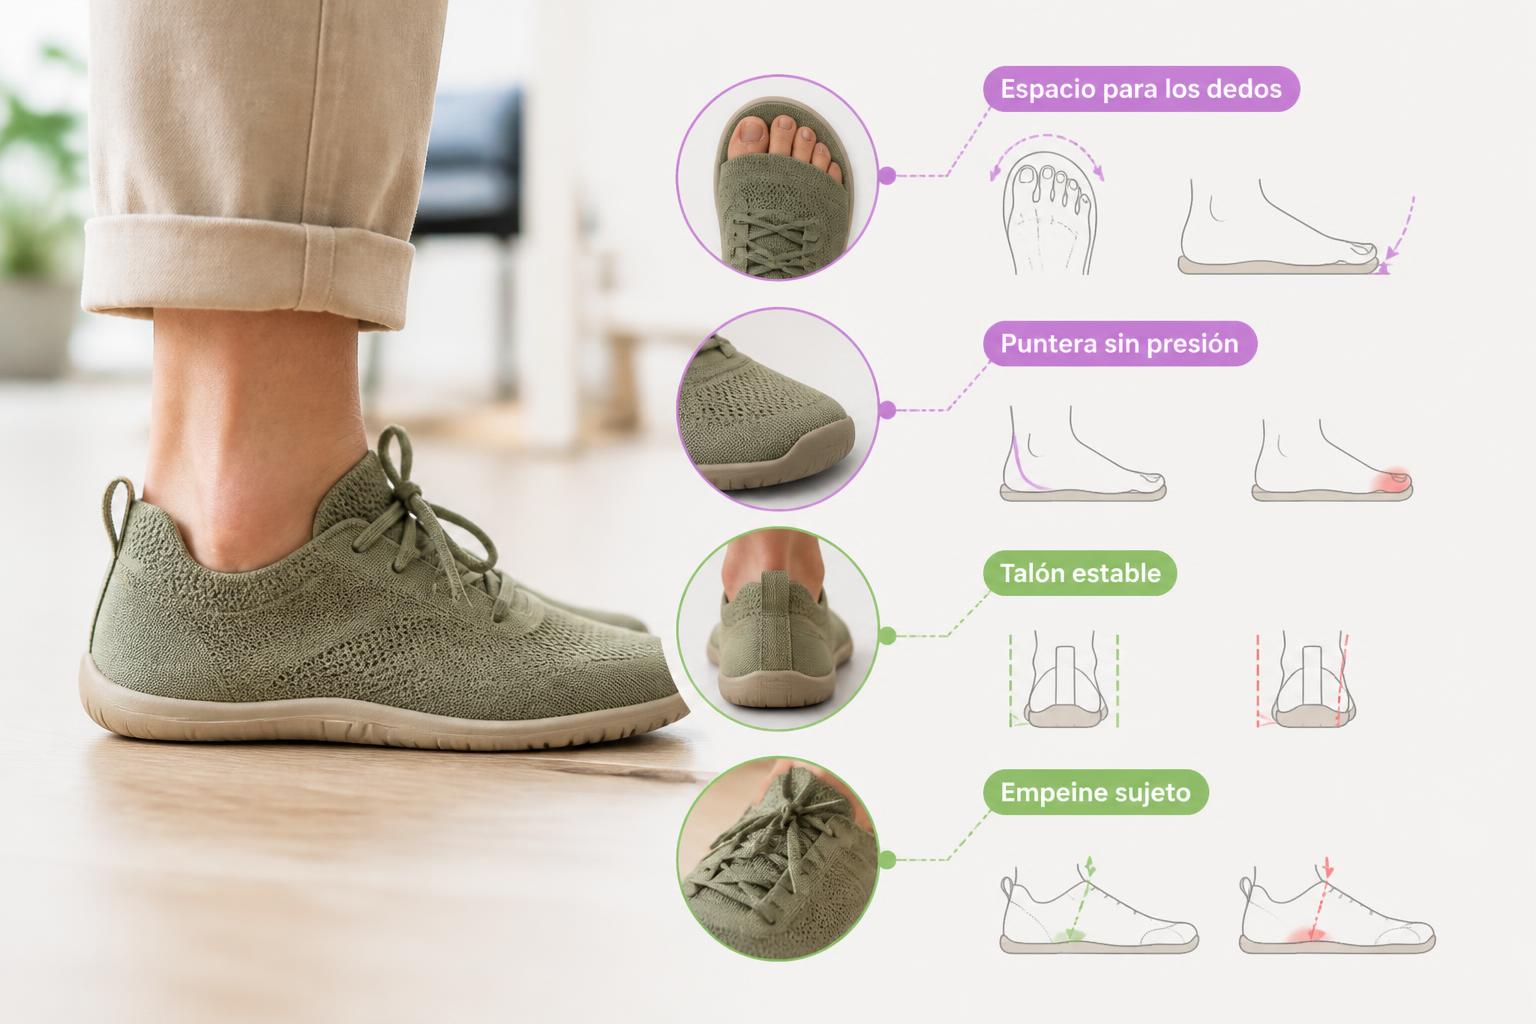
Check that your heel does not lift, your foot does not slide forwards and your toes can move. Also review pressure across the instep, contact with the sides and stability when changing direction.
After taking off the shoe, look for persistent redness, rubbing or sensitive areas. If these appear, remove the replacement and compare its volume and shape with the original insole again.
What signs indicate that you should remove or change the replacement?
Stop testing it if you notice numbness, intense pressure, blisters, persistent pain or a clear feeling of instability. It is also a sign of incompatibility if the insole creases or shifts while walking.
A different sensation may be part of the adjustment process, but you should not have to tolerate significant discomfort to get used to it. If the problem continues with the original insole or an injury develops, consult a healthcare professional.
Quick compatibility table and frequently asked questions
The following table summarises what to check for different types of footwear. It helps organise the decision but does not confirm automatic compatibility. The actual measurements of the shoe and replacement remain decisive.
| Type of footwear | Main checks | Common risk |
|---|---|---|
| Barefoot shoe | Toe shape, thickness, flexibility and foot hold | Reducing instep volume |
| Barefoot boot | Length, width, interior height and heel stability | Creating pressure with thick socks |
| Closed sandal | Covered surface, edges and strap position | Moving the insole while walking |
| Shoe with a removable insole | Flat base and measurements of the original insole | Confusing size with compatibility |
In addition to the measurements, check that the replacement lies flat and remains stable inside the footwear, without folding at the edges or interfering with the toe area. An apparently compatible insole can change heel fit or cause the foot to slide if its surface does not match the interior base.
Can I use a conventional insole in barefoot shoes?
It may not fit the volume, flexibility or heel elevation expected in a barefoot shoe. Before using it, compare its shape and thickness with the original and check whether it preserves enough room for your toes.
If the conventional insole has a pronounced structure or raises the heel, the sensation may change considerably. It is preferable to test it gradually and remove it if it creates pressure, sliding or instability.
What should I do if I need a prescribed insole?
If an insole has been prescribed by a podiatrist, physiotherapist or another healthcare professional, do not replace it solely with a replacement barefoot insole. Its shape and support may respond to an individual assessment.
Consult the relevant professional before modifying it, combining it with different footwear or changing the model. This guide helps you review shoe fit, but it does not replace clinical advice.
To care for the insole you already use, you can also consult a guide on cleaning barefoot insoles. If you need to review the shoe’s general sizing, a guide to measuring your foot can complement the comparison.